A few posts ago I wrote about building Windows virtual machines with Terraform, and a couple of days ago, “YoureInHell” on Twitter reached out and asked what advice I’d give about having several different terraform modules use the same basic build of custom data.
They’re trying to avoid putting the same template file into several repos (I suspect so that one team can manage the “custom-data”, “user-data” or “cloud-init” files, and another can manage the deployment terraform files), and asked if I had any suggestions.
I had three ideas.
Using a New Module
This was my initial thought; create a new module called something like “Standard Build File”, and this build file contains just the following terraform file, and a template file called “build.tmpl”.
module "buildTemplate" {
  source   = "git::https://git.example.net/buildTemplate.git?ref=latestLive"
  # See https://www.terraform.io/docs/language/modules/sources.html
  #   for more details on how to specify the source of this module
  unsetVar = "Set To This String"
}

output "RenderedTemplate" {
  value = module.buildTemplate.template
}
And that means that you can use the module.buildTemplate.template anywhere you’d normally specify your templateFile, and get a consistent, yet customizable template (and note, because I specified a particular tag, you can use that to move to the “current latest” or “the version we released into live on YYYY-MM-DD” by using a tag, or a commit ref.)
Now, the downside to this is that you’ve now got a whole separate module for creating your instances that needs to be maintained. What are our other options?
Git Submodules for your template
I use Git Submodules a LOT for my code. It’s a bit easy to get into a state with them, particularly if you’re not great at keeping on top of them, but… if you are OK with them, you’d create a repo, again, let’s use “https://git.example.net/buildTemplate.git” as our git repo, and put your template in there. In your terraform git repo, you’d run this command: git submodule add https://git.example.net/buildTemplate.git and this would add a directory to your repo called “buildTemplate” that you can use your templatefile function in Terraform against (like this: templatefile("buildTemplate/build.tmpl", {someVar="var"})).
Now, this means that you’ve effectively got two git repos in one tree, and if any changes occur in your submodule repo, you’d need to do git checkout main ; git pull to get the latest updates from your main branch, and when you check it out initially on another machine, you’ll need to do git clone https://git.example.net/terraform --recurse-submodules to get the submodules populated at the same time.
A benefit to this is that because it’s “inline” with the rest of your tree, if you need to make any changes to this template, it’s clearly where it’s supposed to be in your tree, you just need to remember about the submodule when it comes to making PRs and suchforth.
How about that third idea?
Keep it simple, stupid 😁
Why bother with submodules, or modules from a git repo? Terraform can be quite easy to over complicate… so why not create all your terraform files in something like this structure:
And then in each of your terraform files (web_servers, logic_servers and database_servers) just reference the file in your project root, like this: templatefile("../build.tmpl", {someVar="var"})
The downside to this is that you can’t as easily farm off the control of that build script to another team, and they’d be making (change|pull|merge) requests against the same repo as you… but then again, isn’t that the idea for functional teams? 😃
TL;DR: Linux is usually awesome, but it doesn’t work for my niche case.
Why was I in the market for a new computer?
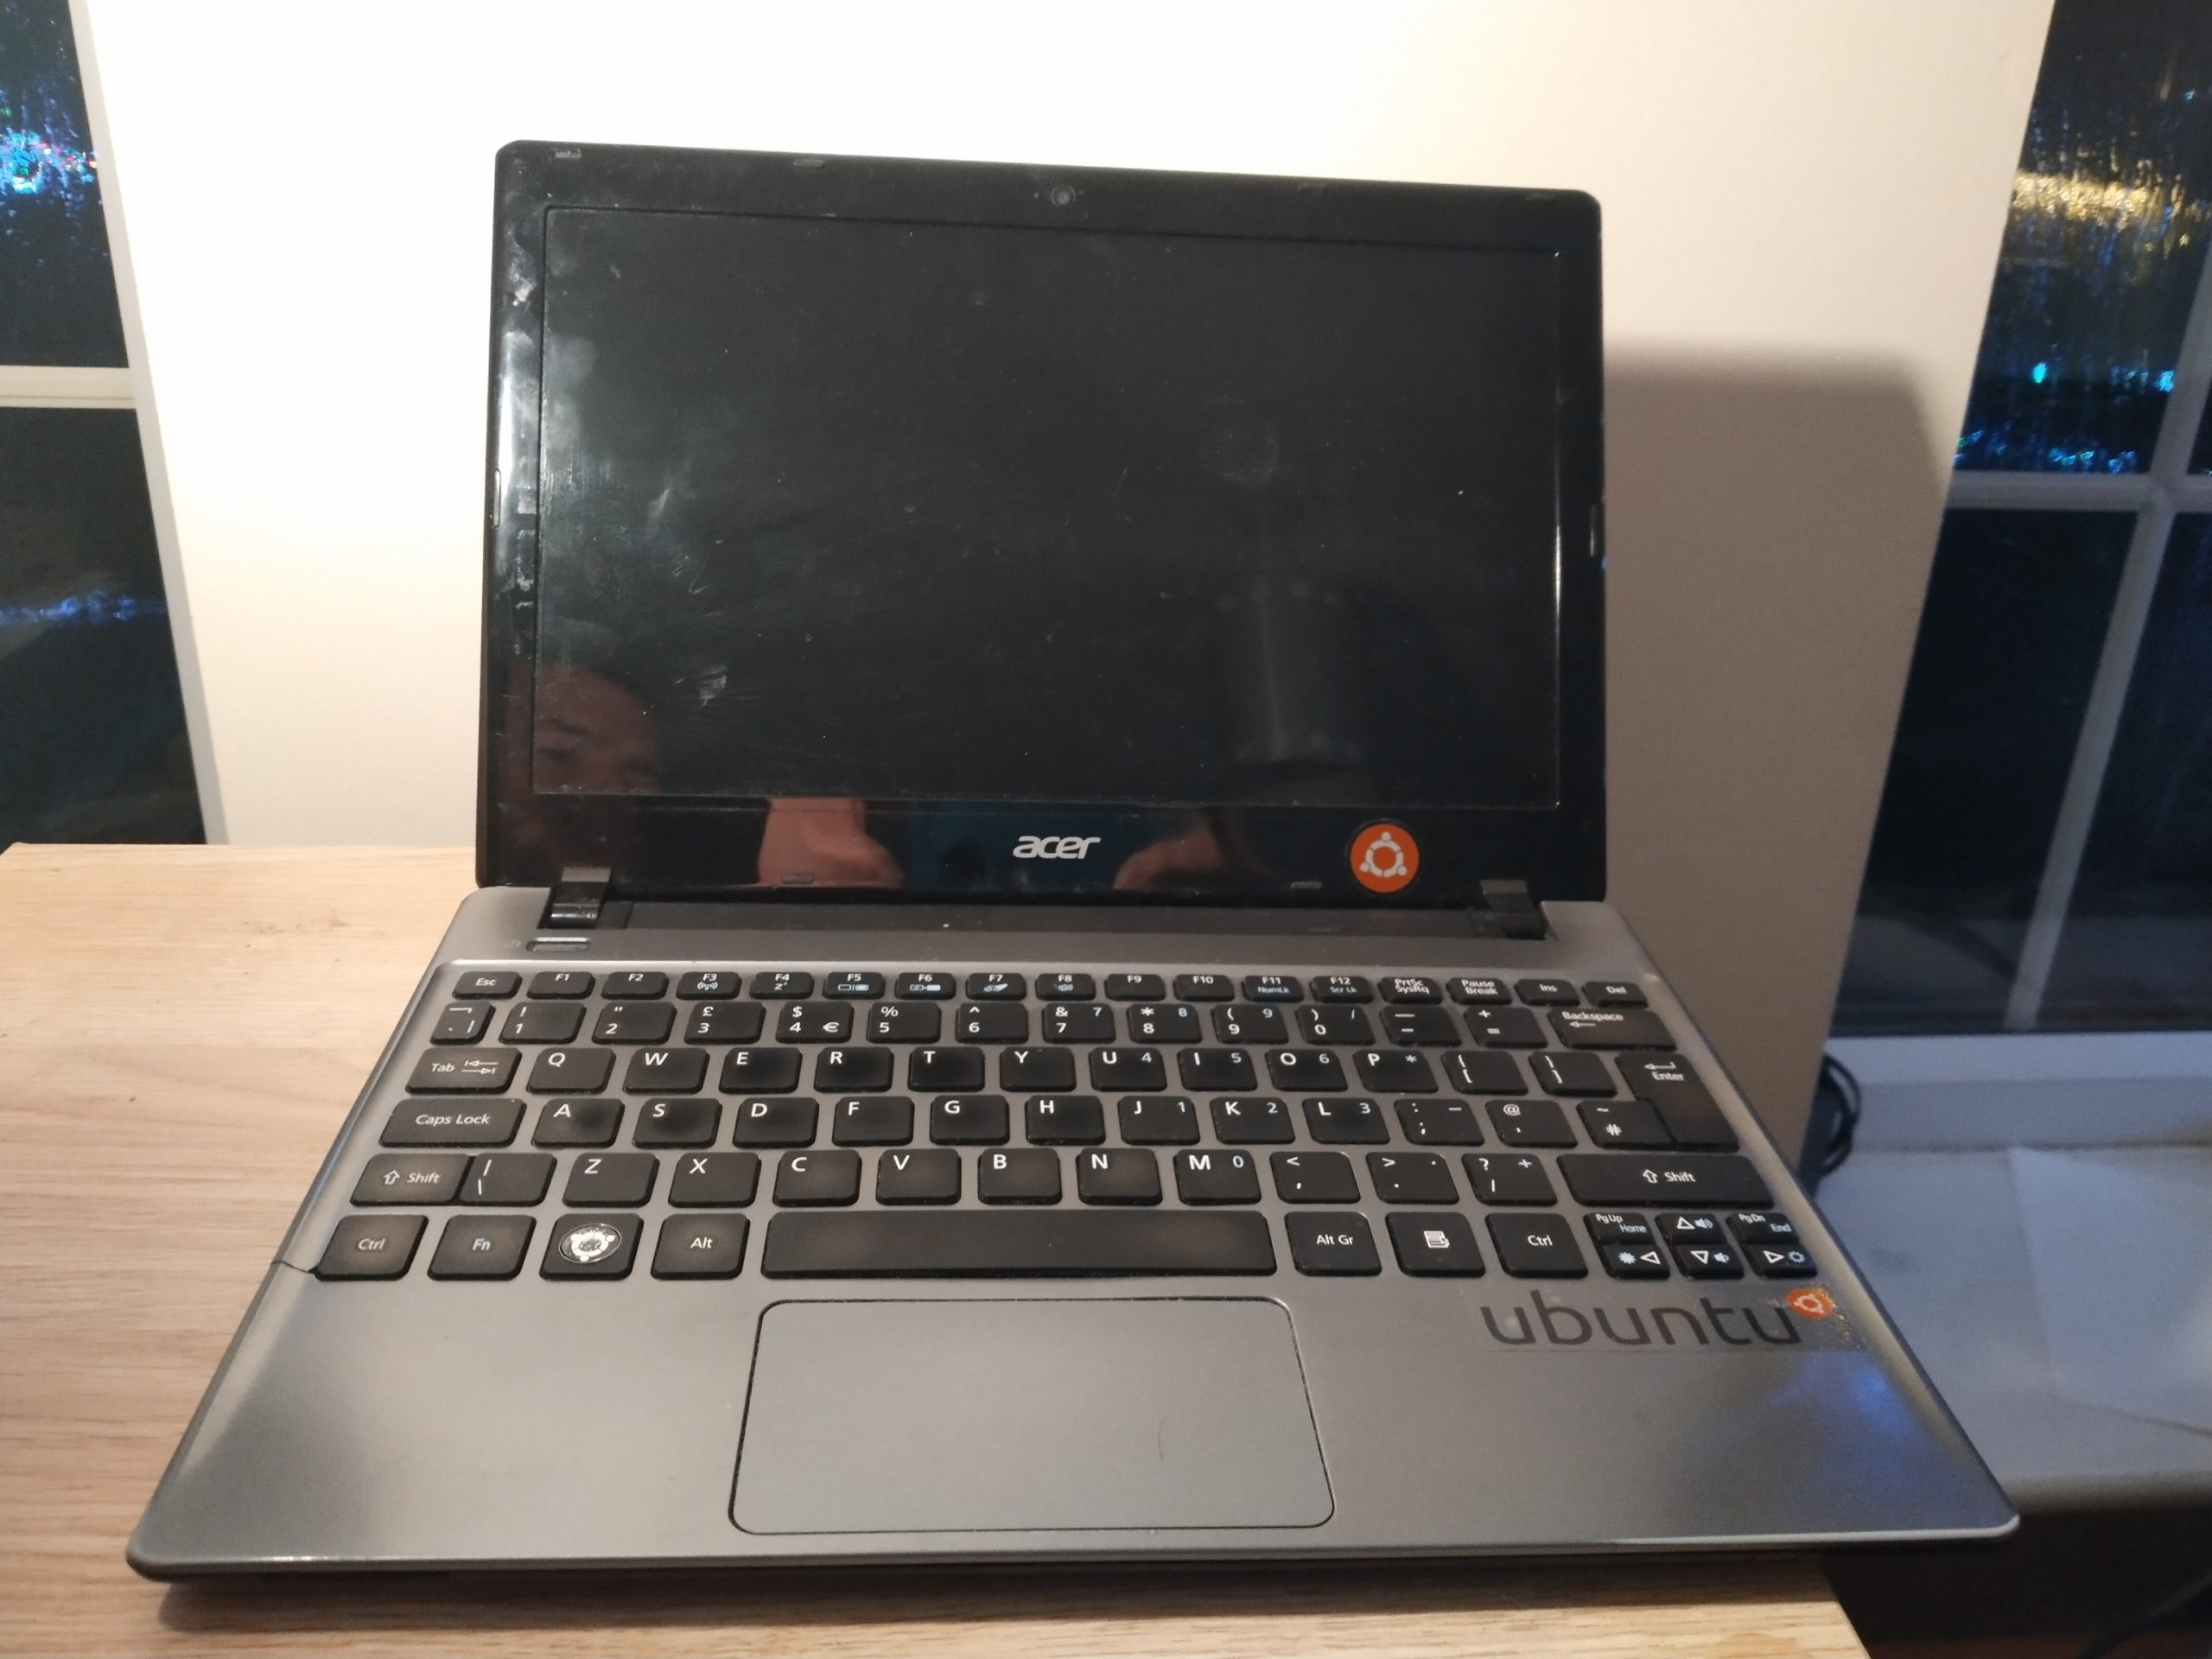
October 2019 my beloved (but 7 year old) Acer V5-171, “Minilith” (so named because it was smaller than it’s predecessor, a 17″ monster of a black slab that was named “Monolith”) started exhibiting signs of having a dead battery. I replaced the battery with an 3rd party replacement, and while it charged OK for a few runs, it stopped charging all together (I could get a maximum of 5% charge), so I put the old battery in, and it started working better. Huzzah. All was going well until around 6 months ago when the hard drive failed, so I replaced it with an SSD, and that gave it a new lease of life… and this month, well, it just wouldn’t boot reliably. I finally decided that it was time to let it go and play with Timmy the dog at the farm, and replace it with something newer.
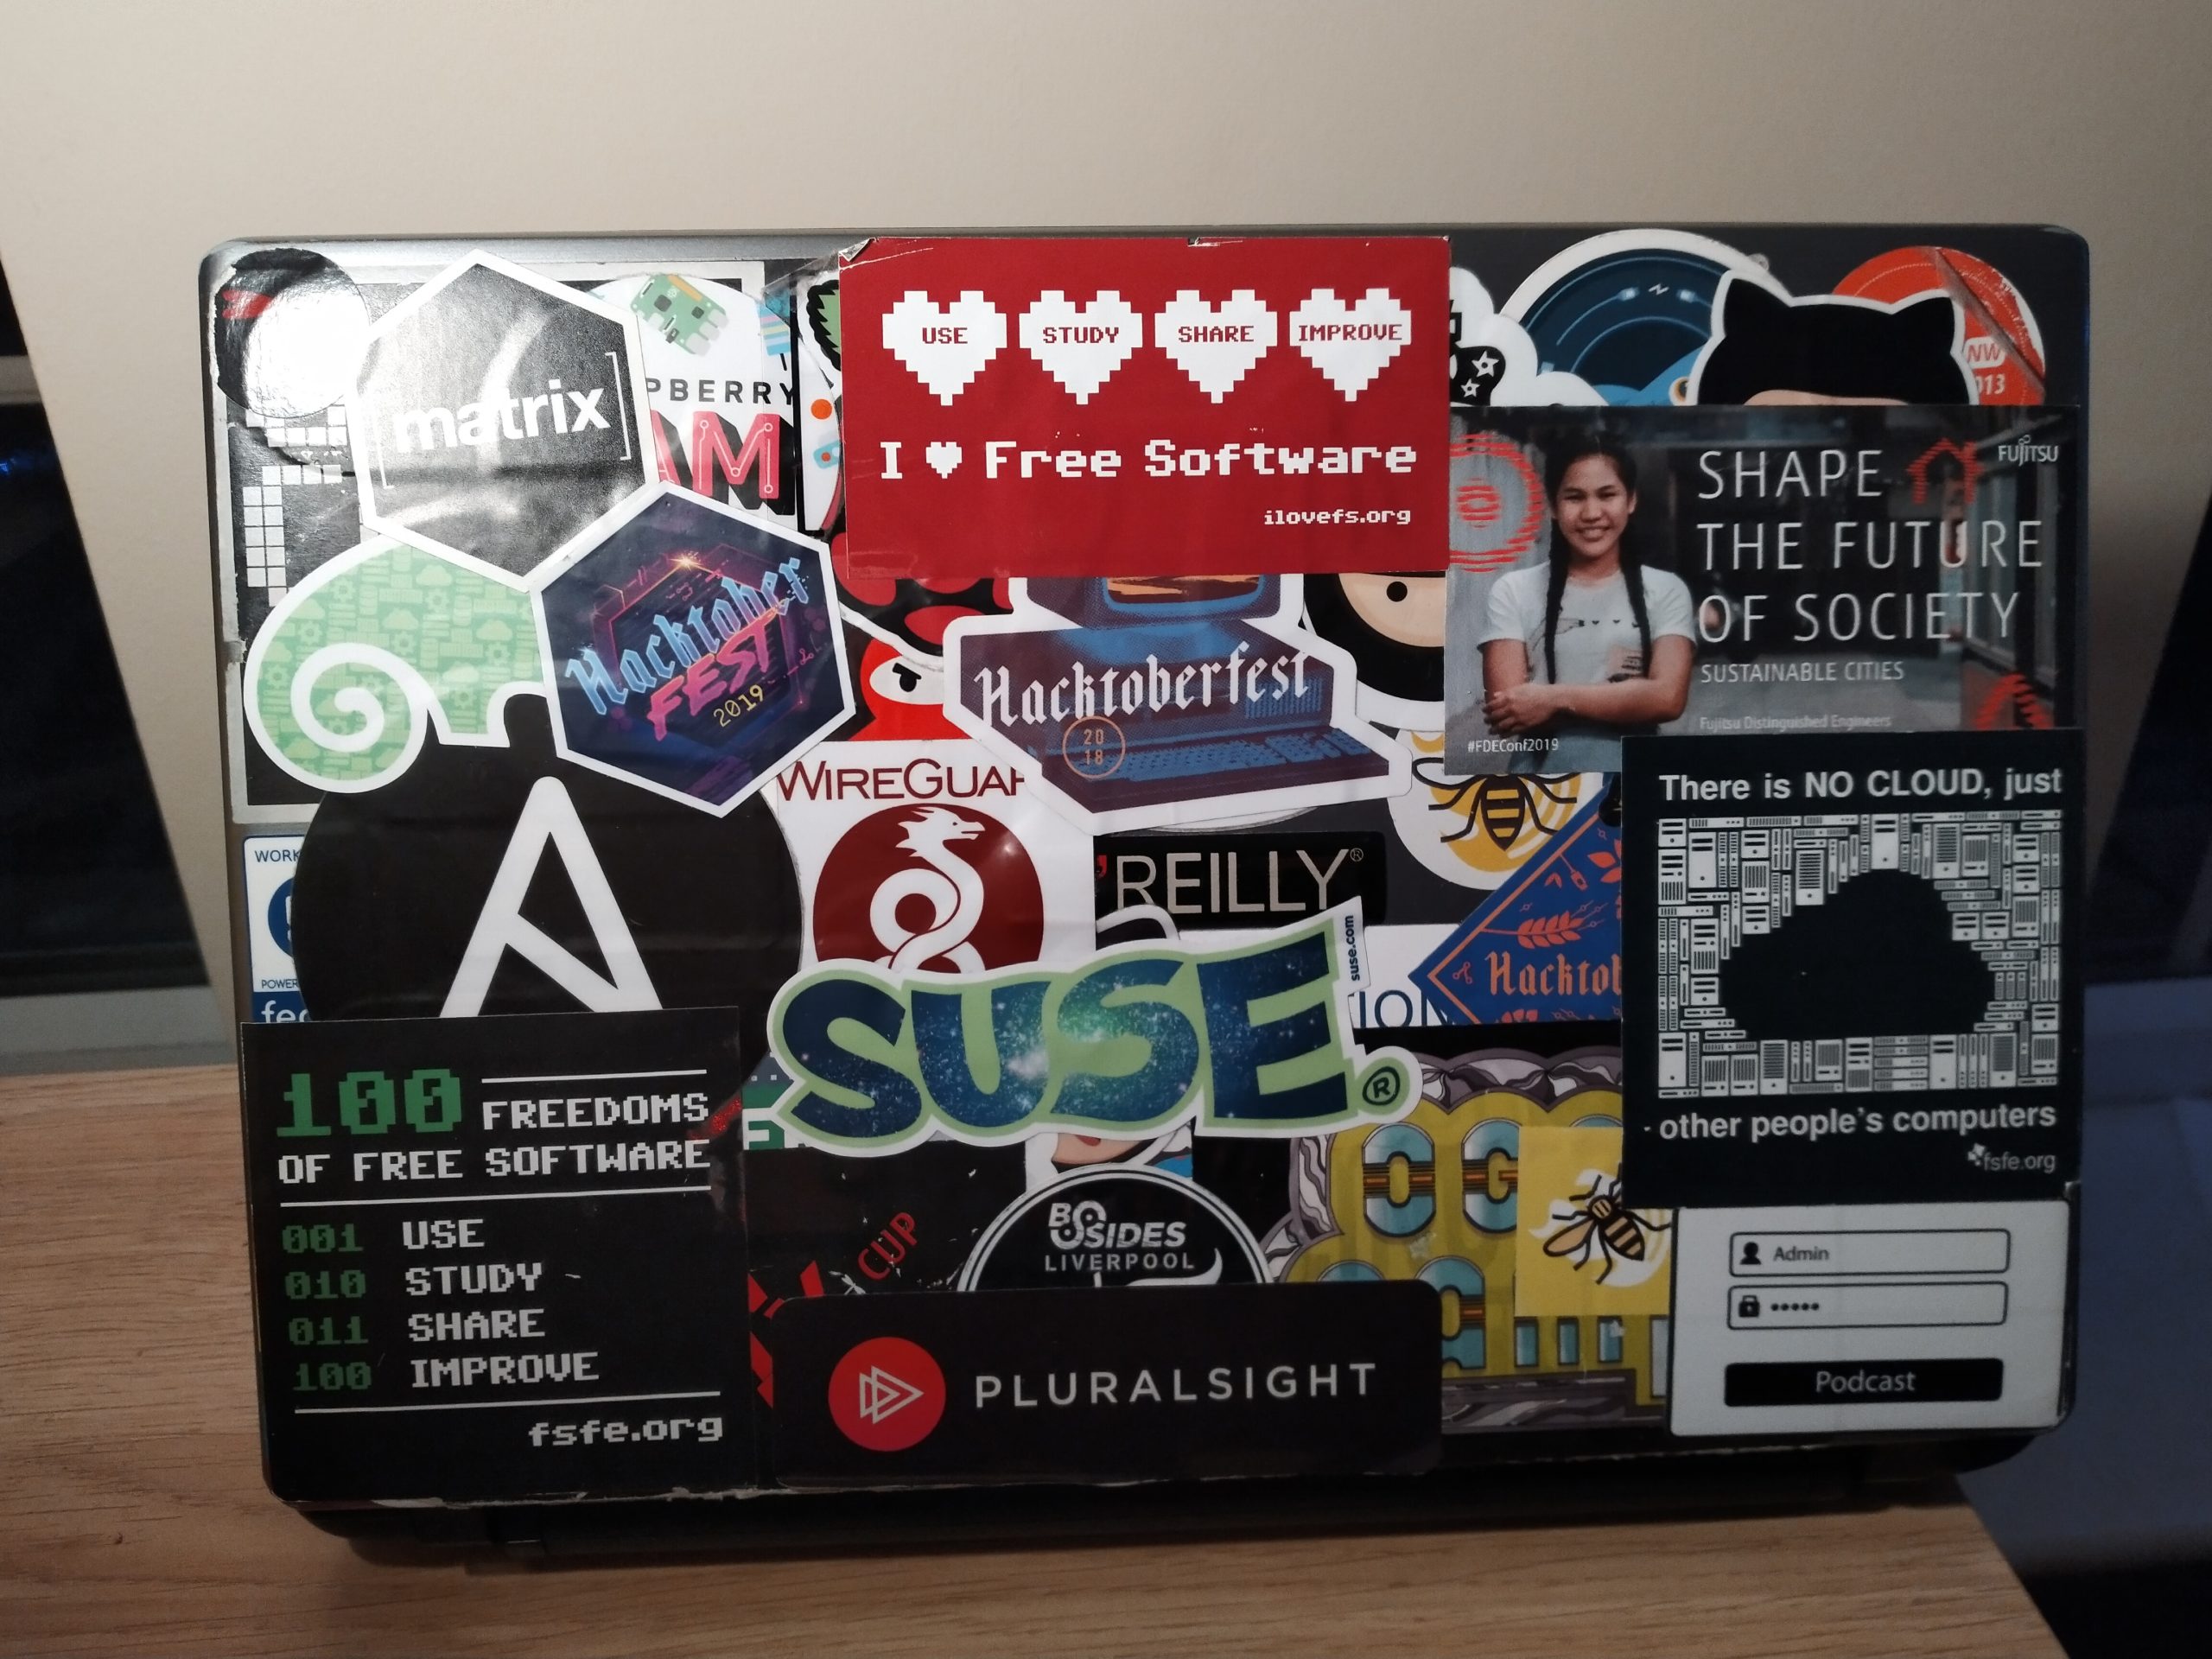
The back of “Minilith”, my 7 year old Laptop.
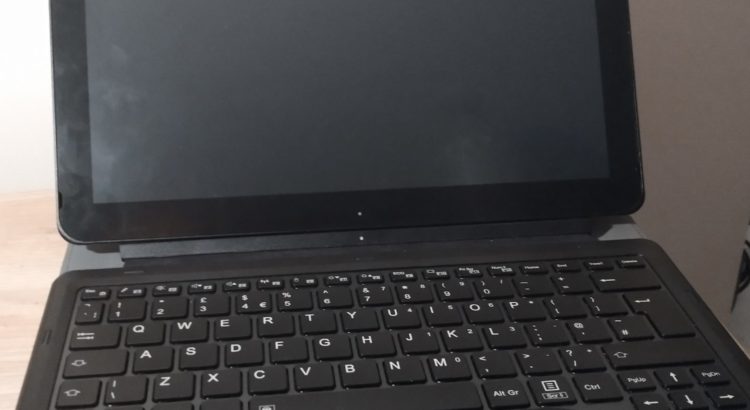
Minilith’s Keyboard and Screen
Fortunately, this co-incided with a small win on the company social Prize Draw of a reasonable sized pay out, enough to consider looking at the Ex-Demo staff sales list made available to me by dint of my employer.
Making my choice.
There weren’t a lot of options, to be fair, but one item stood out to me. A Stylistic Tablet Computer. I’d previously had an Asus Transformer TF300T – a tablet-come-computer which had a detachable keyboard. I’d loved that, even though it didn’t really do what I wanted it for (and, I think I’d paid quite a bit over what it was worth, really)… but what I really wanted to do was have a tablet I could use for computing… Hence, the Stylistic.
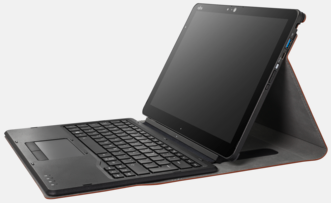
Image of the tablet view of the Stylistic V727 computer from a German blog.
Fujitsu are in a bit of an odd place, at least in the UK (I’ve not looked elsewhere) for personal computers – we sell quite well (apparently) to business, but we moved out of the “selling to the public” market probably around 2010, and so it was pretty hard to gauge how well this laptop performed. Oh, and of course, being a “Linux Enthusiast”, I wanted to be able to run Ubuntu, Fedora or others on it.
Because it was an internal sale, and I wanted to test Ubuntu on it before I bought it, I was able to get the sales team to let me evaluate it before I bought it.
It arrives!
It arrived as the tablet and keyboard, with a dock for setting it on your desk. I tested it with Windows, where the dock worked well, but the keyboard by itself didn’t so much. You see, the keyboard is an optional accessory, and had been sold with the laptop, all good thus far. Except what you also need to get, when you get the keyboard, is the case. The case gives you the sturdy back to give the “laptop” a frame. It’s basically the hinge that the top-heavy screen needs to keep itself upright.
A screen capture of the Fujitsu Stylistic V727 from the datasheet. Note this image shows the optional keyboard and the optional case.
The sales team were very understanding, and found a case to ship to me as well, but it wouldn’t come for a few days, so I was left to try out the rest of the hardware.
What do you get for your money?
The processor is an Intel i5-7Y57 dual core CPU with four threads, running at 1.2GHz.
It has 8GB of RAM and a 256GB m2 SATA drive.
The 12.3″ touch-or-pen (included) enabled screen has a maximum resolution of 1920×1280 pixels. The surface of the tablet is considered a WACOM tablet, and the pen can be sensed from a reasonable distance away. There are two buttons on the side of the pen, which turns a tap on the screen from a “normal” left click to a right click, or a center click.
On the rear is a fingerprint sensor.
From a network perspective, the WIFI supports 802.11ac, Bluetooth 4.2, and under the battery there is a LTE module onboard (although, I’ve not tested that).
On the side is a USB3.1 A connector, and a USB C connector (the specs sheet I linked to above suggests there is a single USB 3 and a USB 2 interface, but I doubt the USB C is USB 2).
There is also a MicroSD slot, which is detected by the booted OS as an MMC device, but it is not detected as a bootable device.
There’s a combined 3.5mm audio in and out jack, which I’ve not tried and a power socket.
There are two cameras, a 5 megapixel front-facing camera and an 8 megapixel rear facing camera with a flash.
The detachable keyboard has an integrated touchpad. It’s all good, and compared to my poor Acer V5, it’s a massive step up ❤
When you add in the desk dock (where, to be fair, it’s spent most of it’s time since I got it), the connections also then include Gigabit Ethernet, a Display Port interface, a VGA port and three USB 3 A interfaces, and a power socket.
The OS Comparison starts
Windows first
I booted it in Windows, and found it really rather responsive, especially once I’d reinstalled Windows without all the customizations the demo team had put on…
My previous install of Windows on Minilith had been the Home edition, and I’d found the semi-constant nagging to install games and the like rather annoying. I’ve had a couple of Windows 10 Professional installs at work, and, while those builds came with their own fair share of corporately mandated bloat (after all, their threat models are somewhat different to mine) they usually felt more slim than the Windows 10 home install I’d had, so when I saw this had Windows 10 Professional, I was looking forward to seeing something a bit leaner… and I wasn’t let down. All the hardware worked fine, I had the fingerprint reader working, no worries and the dock was great.
Docking and undocking is relatively seamless, although the first try was a bit tricky, I’ve got used to it. I had two screens attached via my work-supplied Fujitsu PR08 DisplayLink adaptor, plugged through the dock, and again, that all worked fine.
I could use the pen in the tablet mode really well. It makes selecting items on the screen easy, and if you don’t want to use the virtual keyboard, in some cases, it pops up a handwriting recognition box, although the time I showed this to my wife (where I’d been using it successfully for some time), it didn’t recognise half the words I wrote… but I’m sure that’s just my dreadful scrawl, and not the tablet’s fault!
Even using the tablet without the pen worked really well. Tapping the screen is a left click, and a long press on an area is a right click, similar to how Android handles left-and-right clicks in RDP and VNC sessions. The keyboard has several “modes” – a reduced character set, a thumb typing set or a full keyboard. The reduced set has a control key and an escape key, but no alt, windows or arrow keys. I didn’t try the thumb typing set (this thing is 12″ across!) but the full keyboard is an “ISO layout” 75% keyboard (I discovered by matching the image to this website!) which means I still get my Control, Alt, and Windows keys.
Next, Ubuntu
I booted from a USB stick that had the Ubuntu 20.04 installer on it. Ubuntu booted fine, allowed me to repartition the Windows partition into approximately half the drive, and install away. During the install, I was asked to provide a password to setup the SecureBoot keys, and instructed that it’d prompt me for it on the next reboot. Most of the hardware worked fine. Dock, keyboard, Wifi, Bluetooth… all good. The fingerprint sensor wasn’t detected, and still isn’t, but I’m OK with that, it was always just a nice-to-have. The install worked fine, and yes, on reboot, I got a blue screen asking me to set up my “MOK” (which, I guessed eventually, was the SecureBoot setup). I realised that the SecureBoot install stage of the Linux install copies a private key to the UEFI space, and on the next boot, it spots there’s a key there and asks you to unlock that private key, so it can install it into the boot keys. All good!
I was working away on it with the tablet in the dock. I tried using it with the detachable keyboard, but it was a bit tricky to use without the rigid back, so I kept it in the dock. The pen works a treat too.
The problem came when I tried to use it as a tablet.
You see, where Windows has a selection of keyboard layouts for their “On Screen Keyboard” (OSK), the Gnome one only lets you use this layout:
While this is passable for tapping stuff into a URL bar in your browser, entering a password for logging in, or typing simple statements into dialogue boxes, there are some key things it’s missing. The first (for me) is a Control, Alt or Super (Windows) key. This means I can’t do any programming, of any sort, in Tablet mode. Note, this just works on Windows, and is possible on Android with an extended keyboard called “Hacker Keyboard”. There are also no cursor keys, which seems like it’s less important, but it makes editing things you’ve typed (or mistyped) MUCH harder.
“Well, OK then, let’s have a look around and see what our options are?”
I’d heard good things about “OnBoard”, a predecessor to Gnome OSK, but because OSK is registered as “The” on screen keyboard, and runs as a system process, and OnBoard is a user process, Gnome OSK pops up any time you want to do on screen keyboard things, even if you’ve got OnBoard loaded. Ahah! I found an extension which blocks Gnome OSK… except that stops it from being able to be used for logging in.
You see, that whole “system” versus “user” process thing I mentioned before. The Gnome lock screen is considered a system process, not a user one, which means that if you’ve disabled Gnome OSK, then you can’t put your password in, but equally, if you’re typing in a box with OnBoard, change focus and change back again, up pops Gnome OSK.
Breaking down and turning it around.
I should confess, I didn’t spend a lot of time wondering about this. I booted a Kubuntu environment instead, and found that this really didn’t work for me either (although I now don’t remember what stopped me from liking it – I might have to revisit this!) By this point, I’d spent several hours “messing” around with this, and I just wanted to give something a try. So I booted back into Windows.
I gave the on screen keyboard another try. It worked great. I tried doing some sketches in Paint 3D (the replacement for Windows Paint) with the pen, and it was very easy (so much so, I need to work out how to use it for my next design call with work!)
All the familiar tools I use in my work or personal environment are there.
VSCode. Check.
A usable shell (via Windows Subsystem for Linux). Check.
File synchronization (via Syncthing). Check.
Web browser (Firefox). Check.
Audio recording software (Audacity). Check.
Image editor (GIMP). Check.
Voice chat for the podcast software (Mumble). Check.
And the fingerprint reader works… so I stuck with Windows 10.
The only last catch, whether it was Windows or Linux? There’s no HDMI or VGA out without the dock… so I need to start looking into “cheap” display adaptors that I can use for presenting things, whenever we get back to “normal” and I can start attending and speaking at conferences again.
What about the case?
Oh yehr, so a few days after I get the computer, the case turns up. It attaches to the back of the computer with tape, and feels like leather (although, I’m sure it’s not leather). It definitely makes it feel like a “quality” product 😀. It’s a little bit more tricky to drop into the dock, but it makes it feel like a Laptop when you’re using it like one. The detachable keyboard is interesting. I’ve used it in the car, waiting for children to finish activities, and it’s fine, because it goes flat. I’ve detached the keyboard from the screen to just do tablet-y things with it, and that’s fine too.
So in summary
I think if I didn’t want it to be a tablet as much as a computer, I’d have been fine.
If you want a Windows Tablet that turns into a Laptop, it’s fine. If you want a low-profile desktop computer (in a dock) that can become a laptop, it’s fine.
But until Gnome or one of the other flavours gets a handle on how to do a reasonable on-screen keyboard… I don’t think I’ll be using Linux on here (because it’s also a tablet) for the next few months… and I think that’s going to be OK.
All of that said, if you use any Linux distributions with a tablet style mode, and you’ve got a working OSK, please contact me (via one of the links at the top of the site) to let me know what and how you did it, and I’ll give it a try too!
Edit 2025-07: Five years later
I used this tablet as a keyboard-attached-with-Ubuntu affair for several years. It was only (around 4 years later) when Ubuntu 24.04 rolled around that the On Screen Keyboard became good enough to use it for more than just entering passwords… by which time I’d effectively stopped using it as the fixed RAM and Storage meant it wasn’t really useful for anything other than a remote terminal to other things. In addition, the battery life was getting slowly worse. Taking it to a conference, I found myself back in the state where I was always finding a seat next to the mains sockets. Talking of which, it did come with me to some fab events but there was nowhere to put stickers (unlike my beloved Minilith) and without taking the docking station to give me an HDMI output method, it made it really hard to present anything. Later on I managed to get USB HDMI out adaptors, but by this point it was just too late.
This year I got involved in some activities where I kinda needed a computer, so dragged this out of a drawer, and found the battery was giving me 5-10 minutes off mains, so went looking for a replacement battery… and discovered that this model, as it’s a niche product anyway, you can’t get a replacement battery. So, it’s now resigned back to the drawer-o-doom.
If I had a do-over, would I have bought this? Probably not. The heavy screen and light keyboard meant if you didn’t have the stand on it you couldn’t really use it. The case made putting it into the docking station really hard, and the fact I couldn’t upgrade the RAM or storage was a big negative. I never got the fingerprint sensor to work under Linux. Lack of HDMI out should have been a red-flag too, but… I guess you learn that by having that experience. I don’t regret having got this laptop, but I wouldn’t have done it again.
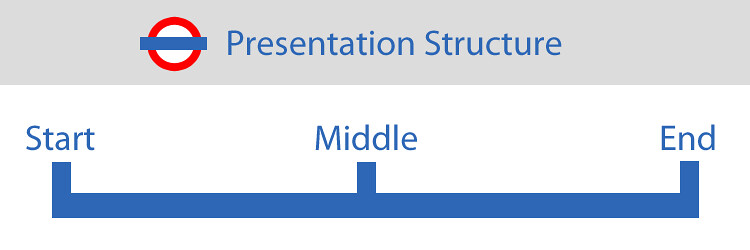
This is a little different from my usual posts, but I heard about this from the User Error podcast this morning. In 2018 Melinda Seckington gave a talk at DevRelCon Tokyo which she then reposted in full detail on her blog. This set of posts is well worth a read, particularly if you’re someone who enjoys writing and delivering presentations, or if it’s part of your job.
While I don’t adhere to her advice exactly, I can see a lot of benefits to the way that she’s advising to create your decks.
It’s worth mentioning that if you follow the links on the blog posts, post 4 of 5 links to the wrong page for the last page (post 5/5), but there is a “next post” button at the bottom of the page… or just follow the links from this page :)