
Hello bold traveller! I recently got into a discussion with someone about how I put content into my blog and I realised that people don’t write this stuff down enough!
At the end of this post, I’d expect you to be able to use this information to be able to create your own, similar stack. If you don’t have the technical knowledge to be able to do so, you should at least have the pieces of information to ask someone else to help you build it. While I’d be flattered if you asked me for similar advice, I’m afraid I have limited time for new projects, even consultancy ones, and all I can do is point you back to this blog!
That said, consider this a bit of the “making the sausage” that most people don’t tend to share! 😀
The Blog itself – WordPress
This site runs a content management system (CMS), called WordPress. I chose WordPress for several reasons.
- Simplicity! The web host I was using when I started this blog offered it as a “one click install”. This doesn’t make it better or worse than any other content management system, but it did ease my selection somewhat.
I used to use Dreamhost (this has a referral code) as my web host, but due to my geographic region I found it somewhat slow to load and thus difficult to make new posts and changes to my site.
It was very easy to transfer my whole site to my new hosting at Digital Ocean (this has a referral code) which didn’t have the one-click option but does have extensive documentation on running services.
I still use Dreamhost for other projects I run, but my blog is something I use very frequently and needed to be reliable and performant. - Extensibility! WordPress was written from the outset (as far as I can tell) to be extended and changed. I knew I wanted certain features, like Multi-Factor Authentication (sometimes called Two Factor Authentication, 2FA or MFA) and not all the CMS platforms would support this.
- Freedom! WordPress is both free of cost (Free-as-in-Beer), and permissively licensed (Free-as-in-Freedom).
The free of cost part is helpful because I didn’t want to spend much money on my blog! I’d previously used a content management system that had a free tier and a paid tier. When they changed the goal posts and reduced the capabilities of the free tier I moved my content away.
The license part definitely worked for me, as I’ve always been a strong proponent of open source code. - Security! WordPress is the most common blogging platform in the world, with apparently over 30% of all websites running WordPress. While WordPress, as a PHP application, may not have the best reputation for security, I knew there were plenty of guides on how to set up a secured WordPress website. I have several plug-ins which, while they don’t necessarily protect my blog, they do reduce my attack area. I also use the automatic upgrade capabilities of the platform to again reduce my risk profile and attack area.
If you don’t want to run WordPress, for whatever reason, there are lots of other options (I also particularly like Jekyll, for example)! Many of the things I do, however, rely on the fact I’m using WordPress, so your mileage is likely to vary if you’re using the rest of this blog without WordPress.
Customizing my blog
Plugins
Once I’d got my blog installed, I turned on several features to help me with my blogging, to protect my site, and to connect my blog to my various social media platforms. Key ones are highlighted below. The plugins I installed were:
- Security and protection
- Akismet Anti-Spam. This is a plugin that checks content in comments to ensure they don’t contain “spam”-like content, and quarantines them if they do.
- Disable XML-RPC Pingback. One of the main spam methods that occurred at one point during this blog’s life was the “Pingback”, where a spam blog would “mention” a lot of blog posts, and those posts would appear in the same space as the comments. Several options were presented at the time to stop this from being an issue, but this was suggested as a simple way to stop the “pingback” spam but not prevent other applications that rely on the XML-RPC tooling in WordPress.
- Limit Login Attempts Reloaded. This plugin does exactly what it says – it limits the number of times you can login to the system.
- Securi Security. This is primarily a scanning tool. I use it to notify me when plug-ins change and posts are created. Although I’m the only user on the site, it’s useful to know when “something” happens. It also has some hardening scripts it can check for, although it assumes that everyone is using the Apache HTTP Daemon!
- Two Factor Authentication. This plugin means that to log into my site, I require a second factor token to log into my site, using Google Authenticator or Authy.
- UpdraftPlus WordPress Backup Plugin. This is a backup tool, that will take regular backups of the site. It’s a freemium tool (which means there’s a “free” tier, but they keep asking you to pay for it. Nothing disastrous, but worth bearing in mind).
- Connect to other services and systems
- Amber. If you frequently link to other websites, then Amber can request Archive.org or perma.cc can take a snapshot of that page at that time. It won’t request a snapshot of anything with a robots.txt file that prevents scraping that content, but it’s useful none-the-less to “know” the content you’re linking to might still be there later on!
- Embed GitHub Gist. I write code occasionally, and sometimes it’s useful to track the versions of this code in Github Gists, especially when you want to store it in WordPress. It’s not always useful, but I like the fact I can reuse the code in several places with this!
- WP LinkedIn Auto Publish. This is a key part of my blogging workflow. This lets me publish the fact I’ve released a blog post to Linked In for my followers on there, without them having to use an RSS reader.
- Other tools
- EditorsKit. This allows me to improve my text editing experience in WordPress, including the highlighting I’ve used above! :)
- JetPack by WordPress.com. This gives me good stats. Everyone loves stats, right? And yes, I know, I could have rolled this one by myself, but it also means I can use the WordPress App to manage my site.
- Presenter. A reveal.js presentation creation and delivery tool (like PowerPoint but entirely in the web), using the WordPress editor, and hosted on my blog (not on something like Slideshare.net or using proprietary applications I need to guarantee would be on my system). I now use this for all my slide decks I write outside of work.
- Relevanssi. A relevance-sorting search plugin for WordPress. Basically, it was a way of being able to see what sort of content people search for on my site, without embedding Google Search into my site!
There are other plugins, but these are the main ones I’m conscious of being “part” of my site.
Theming
After getting the plugins I wanted installed, I changed the theme on my site. I decided that I didn’t need to make this site super-complicated from a theming perspective. I found “Sparkling” from Colorlib, and adopted that as my theme of choice. It is licensed under a permissive license, which I liked :)
I set the colours to #DADADA (a dark-ish grey) for headers and #F2F2F2 (a lighter grey), as these are nice and straightforward. Hopefully won’t cause too much eyestrain!
I added a “Contact Me” menu at the top of the screen, to which I added links to my email address, social media and coding platforms, and so on. And then I added my “sidebar” widgets.
These widgets are drawn either from WordPress native controls, or from several of the plugins. These are:
- Search box
- “Contact Me” menu
- “GR Progress” box
- Public GitHub Gists
- An RSS feed from TT-RSS (I’ll get to that next… ☺)
- And my “meta” box.
So, I now have my blog running the way I want it. Fab! On to the next piece of the puzzle. TT-RSS.
An RSS Reader – TT-RSS
Back in the mists of time, I used Google Reader, a free service from Google that collected “the news” from lots of sites I read. In 2013, Google shut down Reader, and I found Tiny Tiny RSS (abbreviated to TT-RSS) as a service I could host to replace Google Reader.
I installed TT-RSS, following the install guide, and added my RSS feeds. Over time, I’ve also started using the TT-RSS Android client.
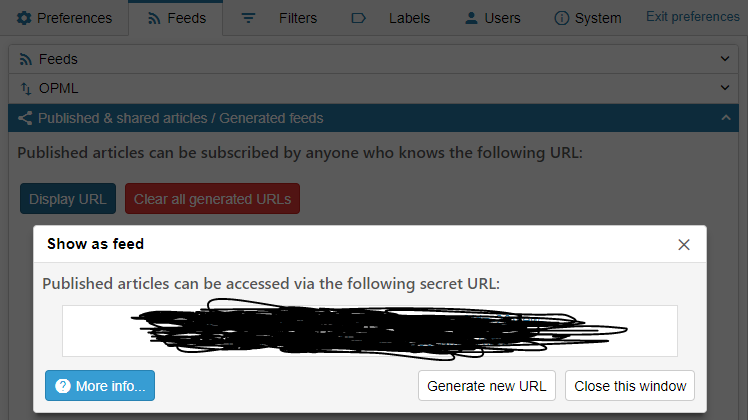
A short while after finding TT-RSS, I noticed that TT-RSS had a feature which allowed you to subscribe to an RSS feed of posts you’d shared (Press the “![]() ” button, select “preferences”, choose the “feeds” tab, and select “Published & shared articles / Generated feeds”, then press “Display URL” – this is your private RSS feed). “I don’t know how to use this” (I thought), but I added it as a side-bar to my blog.
” button, select “preferences”, choose the “feeds” tab, and select “Published & shared articles / Generated feeds”, then press “Display URL” – this is your private RSS feed). “I don’t know how to use this” (I thought), but I added it as a side-bar to my blog.
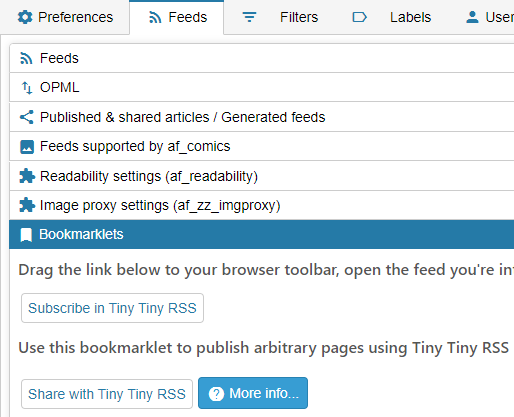
A little while later, I found a “Javascript Bookmarklet” (basically, a bookmark for your browser which runs a short script in your browser), that lets you “publish” arbitrary web links to TT-RSS (Press the “![]() ” button, select “preferences”, choose the “feeds” tab, and select “Bookmarklets”, and drag the button “Share with Tiny Tiny RSS” into your bookmarks bar)… Hmm, this is starting to come together a bit now!
” button, select “preferences”, choose the “feeds” tab, and select “Bookmarklets”, and drag the button “Share with Tiny Tiny RSS” into your bookmarks bar)… Hmm, this is starting to come together a bit now!
Wiring it together – IFTTT
I’d used Yahoo Pipes for some projects in the past, and when that shut down in 2015, I started looking for alternatives. Honestly, I still dearly love Pipes, but shrug that’s Yahoo for you! I found two products – Zapier and “If This Then That” (abbreviated to IFTTT). Zapier became very expensive for what I was using it for at the time (I think I was trying to use it in Home Assistant for something), but IFTTT seemed much more flexible, and over time, became much more useful to me.
Late edit – 2021-01-08: At the end of 2020, IFTTT finally gave up and started charging for the “Free” account when you have more than three actions. As I wanted to do something more with it, I looked for, and found Huginn to replace some of this. I’ve not updated this blog post, but may do later, or I may write some other content about how I use Huginn.
Late edit – 2019-12-16: I was asked about link shortening. By default, IFTTT turns on a link shortener “ift.tt”. This makes it a bit tricky to do some of the wiring together below. You might instead want to turn that off, as all the platforms that I share to, do their own link shortening… If you want to, it’s under “Account” (where your avatar icon is at the top of the screen), and then look for “URL Shortening”.
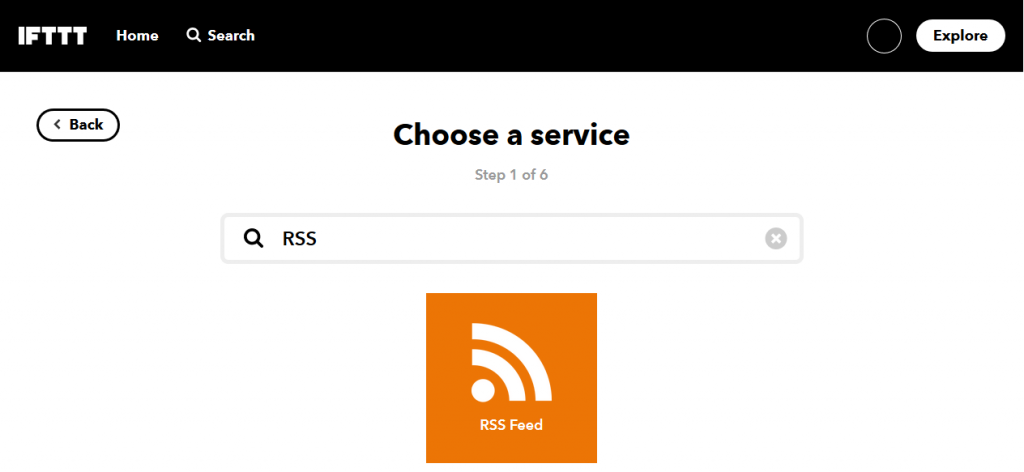
RSS ➡ IFTTT ➡ Blog
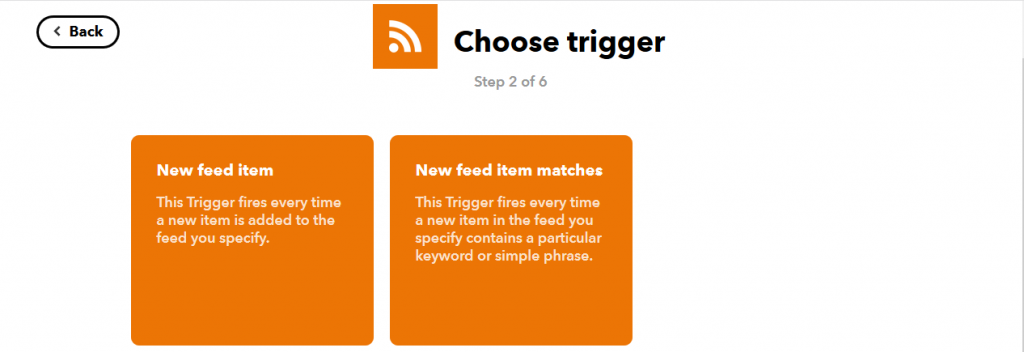
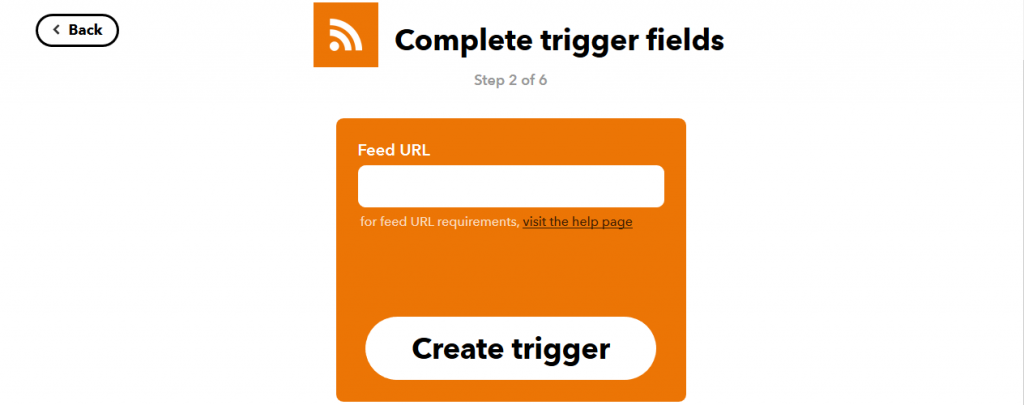
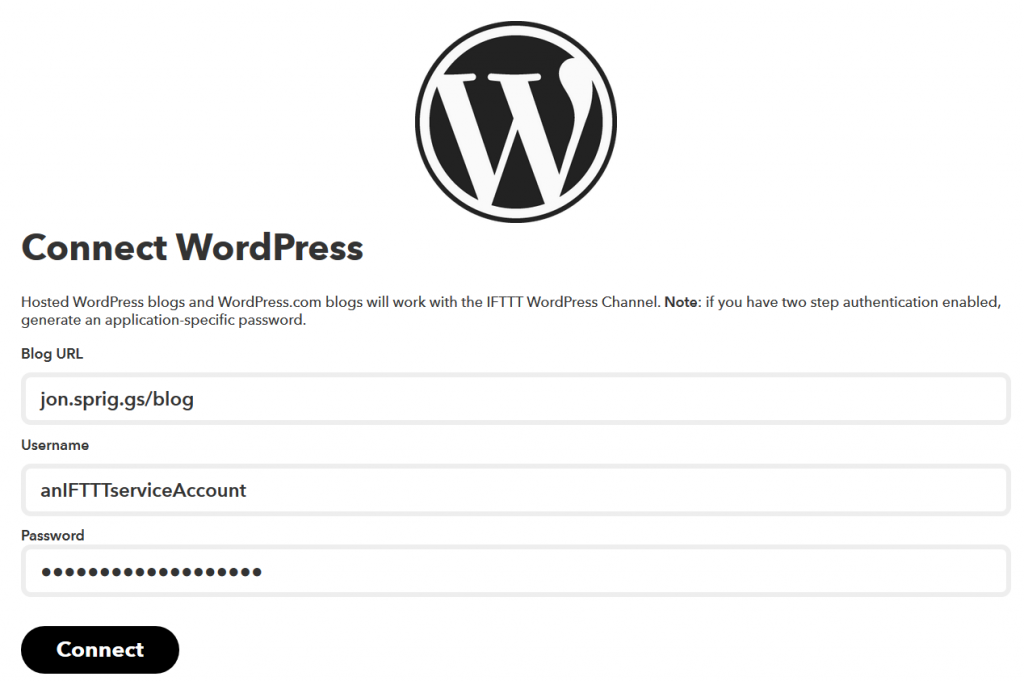
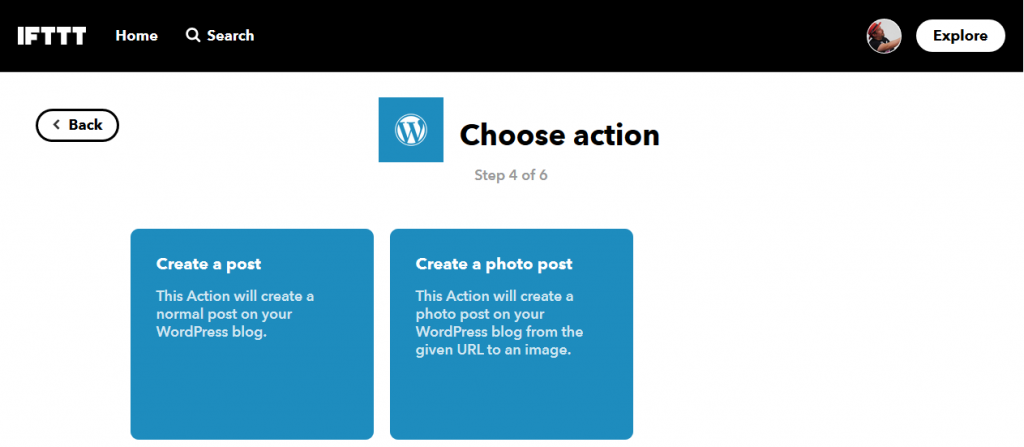
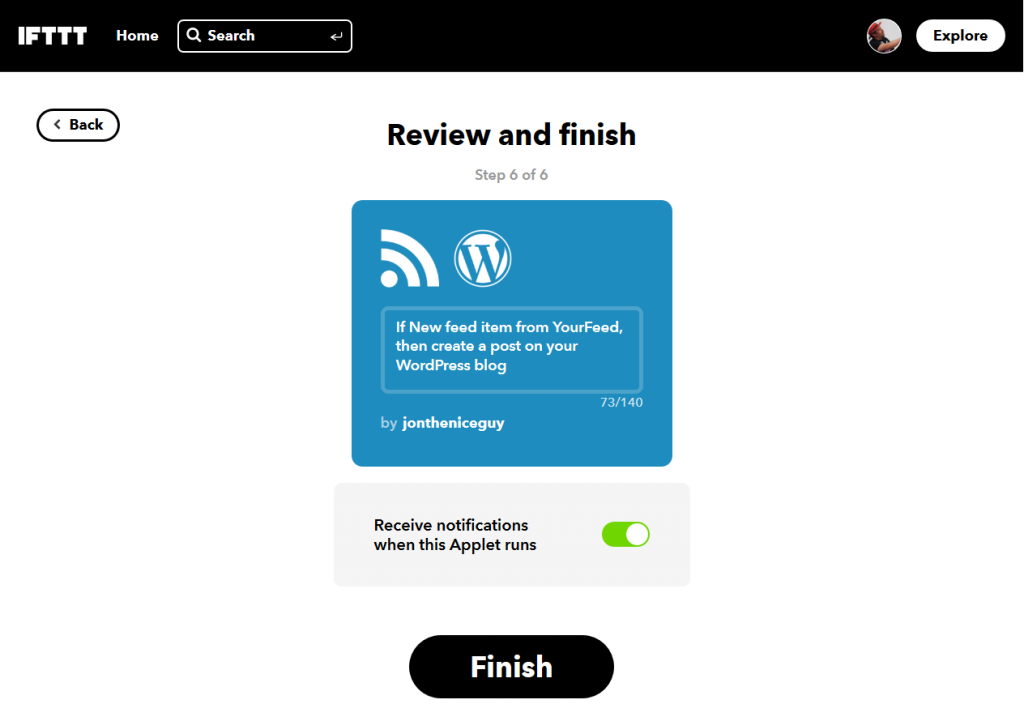
Using the TT-RSS Published Feeds page, I used IFTTT’s “Create” button (which is frequently hard to find), to create a blog post with WordPress when a new RSS post is published. It doesn’t happen immediately, I think the RSS feeds are polled every 30 minutes or so, but as I’m not a news generating machine, that’s not too bad. Here’s my workflow for this.
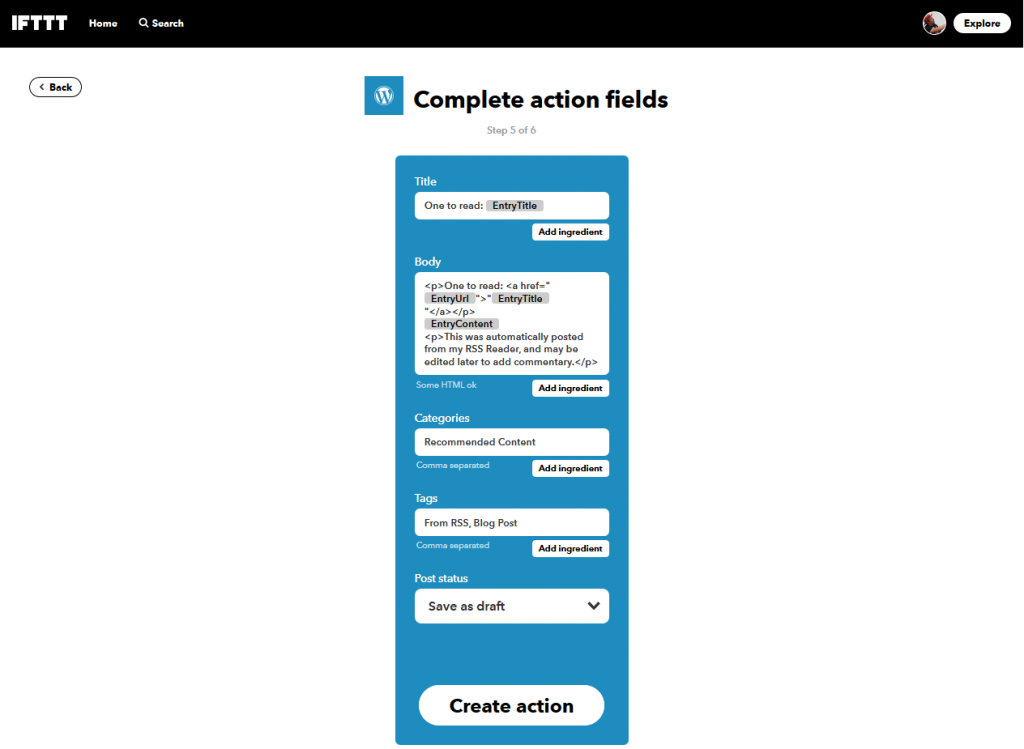
IFTTT uses the analogy of cooking for their “That” things. Clicking on “Add ingredient” allows you to select values directly from the “This” side of the tool. The values specified here are (where things marked {{ somevalue }} are an “ingredient”, but if you copy and paste this text in, will re-render into the grey boxes you see in the picture above):
- Title:
One to read: {{EntryTitle}} - Body:
<p>One to read: <a href="{{EntryUrl}}">"{{EntryTitle}}"</a><p>{{EntryContent}}<p>This was automatically posted from my RSS Reader, and may be edited later to add commentary.</p> - Categories:
Recommended Content - Tags:
From RSS, Blog Post - Post Status:
Save as draft
So, why these values?
Well, originally, this recipe would automatically post my RSS feed sourced content, and then I’d go back later and fix things. The down side to this was that I’d “hit the button” on something, and then never go back and tweak things. By putting the “automatically posted” comment in there meant I’d have the option to change things, but I later turned that into a draft so I didn’t have to “think” about it. I’d have to do a manual step to fix things first and then publish. I think it works out better all around.
I also wanted to make it clear that these were not my posts. I stress that in “One to read” (the first words of the title and body), and “recommended content” (the category I’m selecting).
Also, at some point in the past, I had a plugin that would especially format IFTTT supplied posts, so that they’d show clearly that they came from an external source. This isn’t that useful so “IFTTT-From-RSS” became “From RSS”, etc.
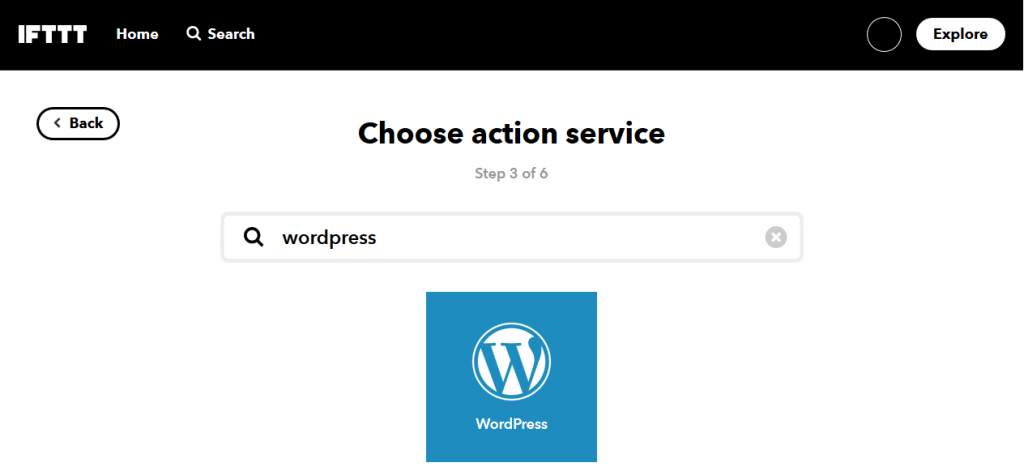
So, this gets me from RSS feed to Blog Post. How about Blog Post to Social Media? Well… this one is much more tricky.
I post from WordPress to Linked In using the WP Linked In Auto Publish plugin, because IFTTT hasn’t developed a dedicated Linked In service, after Linked In revoked their connection. Face Book only lets you publish to a “Page”, and well, this is my personal blog posts, so that would mean having a “Jon Spriggs’ Page” on Facebook, which I can do, but ugh, is complicated and rarely do I have someone follow my on Facebook that is interested in my geeky posts (and if there’s one I want to share, I can manually create the same sort of post I’ve made on Linked In)…
What else is there?
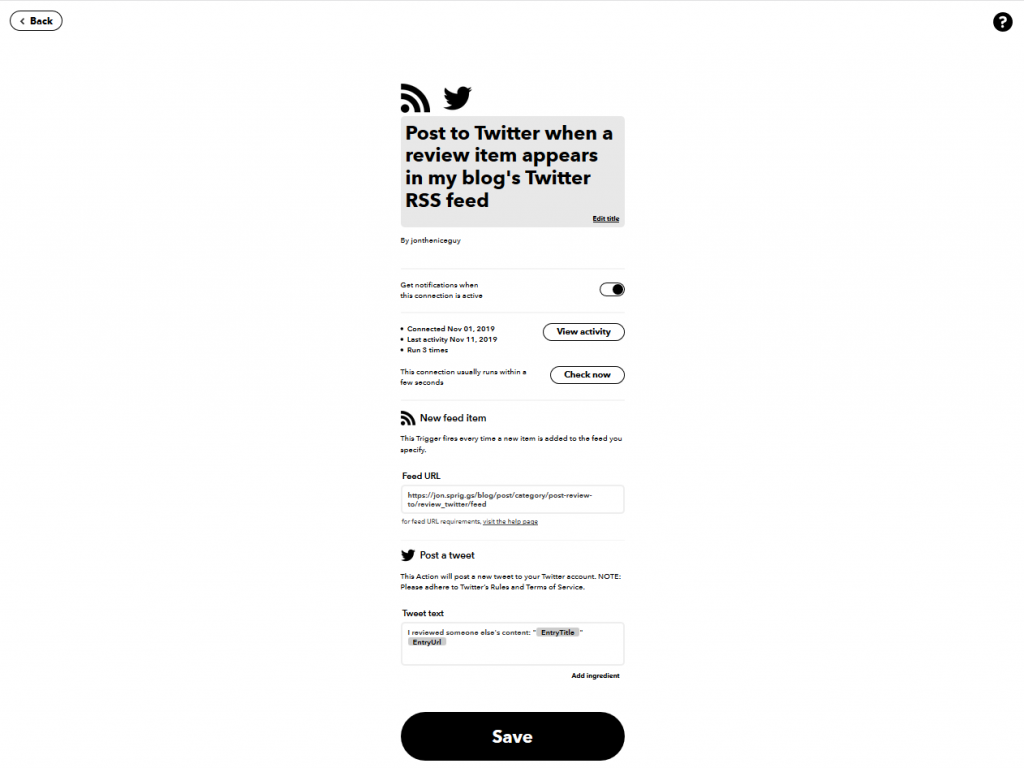
Blog ➡ IFTTT ➡ Twitter
This one is pretty simple actually. Follow the same steps as the RSS ➡ Blog above, but you’re using a category or tag RSS url from your blog as the “This” side, and Twitter as the “That” side. I have a category called “post-review-to/review-twitter”, so my RSS feed is: https://jon.sprig.gs/blog/post/category/post-review-to/review_twitter/feed. You might instead want to use a tag, as they’re less visible (theme depending) or a less wordy name (like perhaps to-twitter?) Either way, create the category or tag, then use this format: http(s)://base.url/for.your.site/post/<category|tag>/<name>/feed. The Tweet part for me is: I reviewed someone else's content: "{{EntryTitle}}" {{EntryUrl}}
If you wanted to use a service like Mastodon, which I don’t, you might want to follow this guide on “How to Post on Mastodon From Anything Using IFTTT“. That said, I don’t use Mastodon (I fell out with the “Fediverse” after identi.ca’s collapse).
I do share stuff from my blog on SSB, using ssb-bot-feed and ssb-server, but that’s a whole separate kettle of fish, and I’m still not entirely sure I’m doing it right! 😀
Anyway, that’s my “blogging” engine story. I hope you enjoy it.
Featured image is “Infinite Mirror” by “Luca Sartoni” on Flickr and is released under a CC-BY-SA license.