LEGO Optimus Prime set 10302 in vehicle mode, with the axe, jetpack and Energon cube on the table alongside the informational plaque.

My review of the LEGO Optimus Prime set 10302

My history

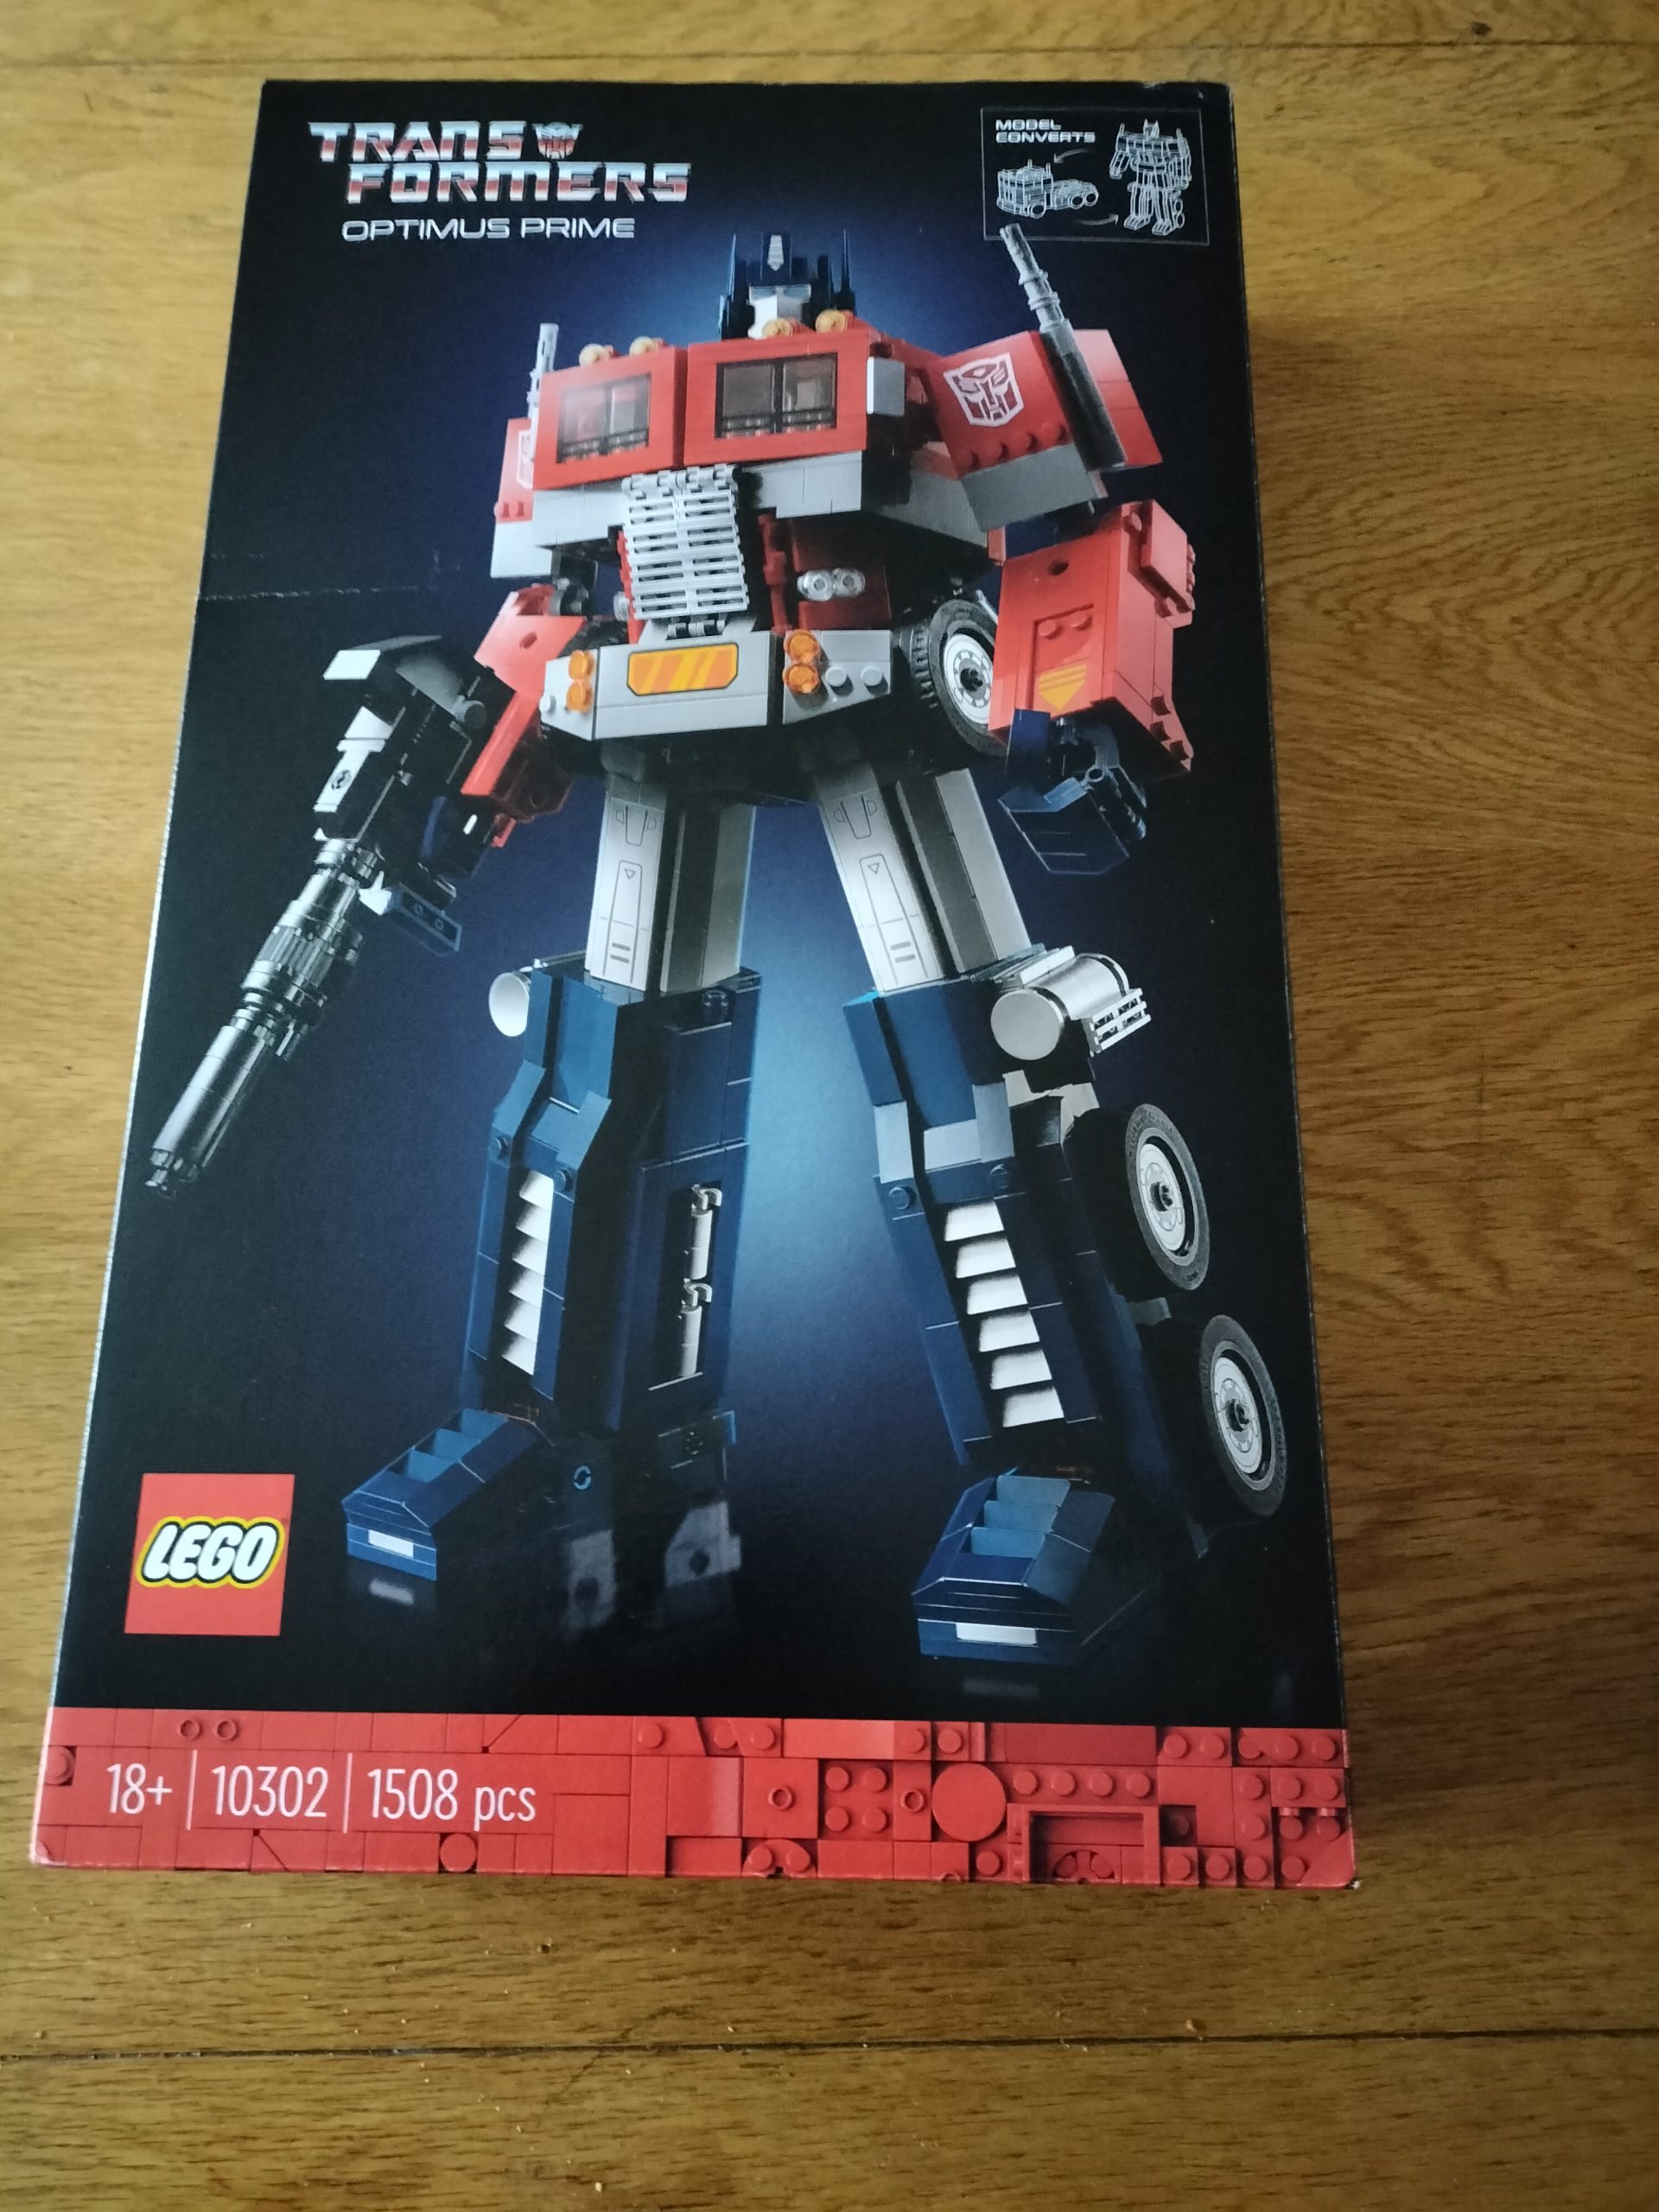
Earlier this year LEGO released the Optimus Prime set, 10302, and I said to my friends at the time “£150… It’s good, but is it that good? (Who am I kidding… Add to basket)” but, of course, I didn’t.

Later in the year, I was fortunate enough to visit Billund in Denmark, the home of LEGO, and I got to see the glory of the Optimus Prime set in the … plastic? Anyway, because I was there with hand luggage only, I couldn’t fit the box and set into the luggage, so I couldn’t get it abroad, and assumed that was it – no more Optimus for me.

Until Christmas Day arrives, and my (amazing, beautiful, best person ever) wife hands me a box… As I pick it up from her, I say “That… sounds like Lego” but I still haven’t put two-and-two together yet. I peel open the paper and my mouth drops. It’s this set.

See, I’m of the era that watched all the cartoons, had all the comics, and (thanks to, in hindsight, my verygenerous parents) had a few of the toys… so this is a true throwback for me.

The build itself

Jules and I agreed that today would be the “build our Lego sets” day, so as I started my breakfast I cracked open the box.

The Optimus Prime LEGO set (10302) box, showing the robot-form.
The rear of the box shows the transforming model, plus the accessories which come with the build.
11 bags of the LEGO Optimus Prime set 10302, plus a cardboard envelope containing instructions and 5 stickers.

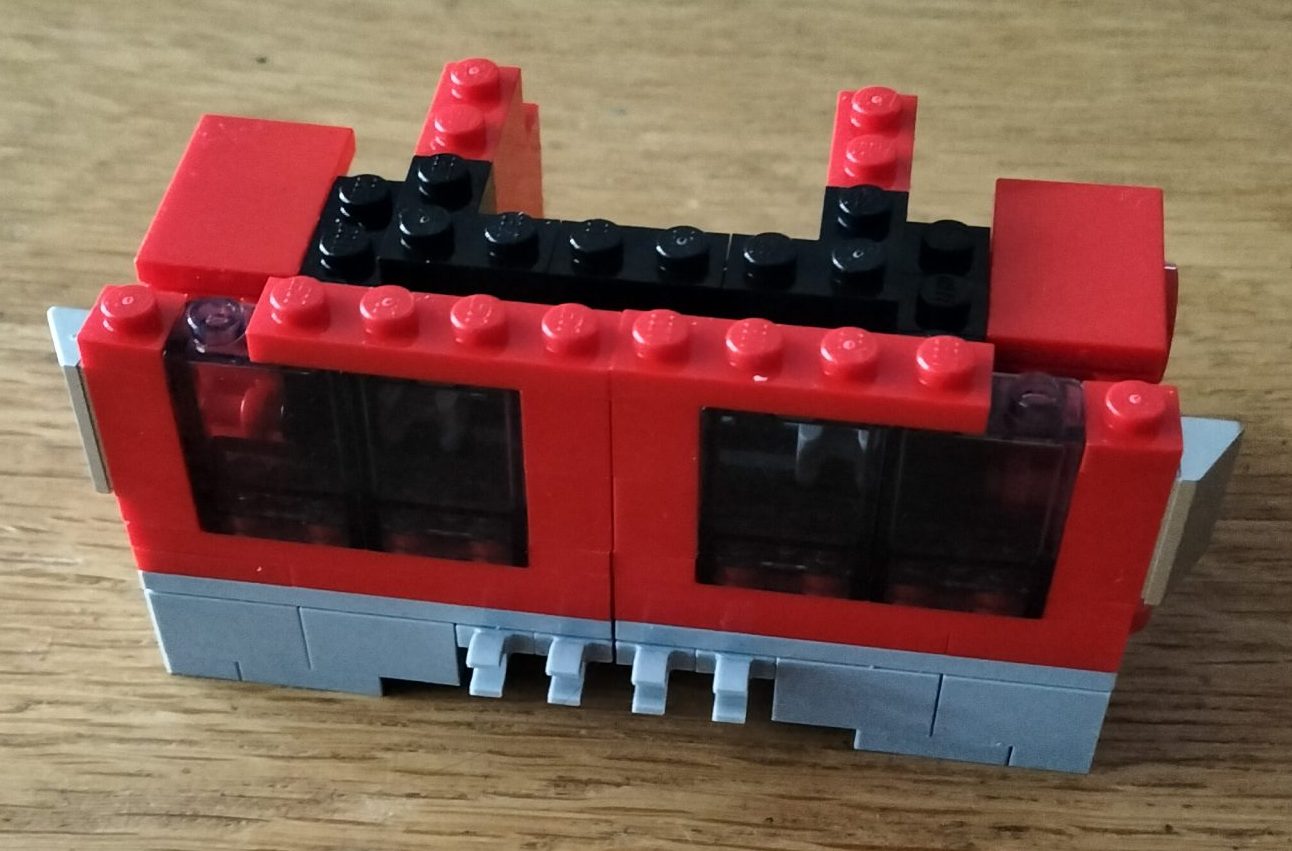
I set to work. Right from the outset, the classic windscreen was visible, and it’s a perfect opening section for the set, and builds the anticipation for the final build.

The result of the first bag of lego - the classic windscreen for Optimus which hides the Matrix of Leadership (built later)
The result of the first bag of lego – the classic windscreen for Optimus which hides the Matrix of Leadership (built later)

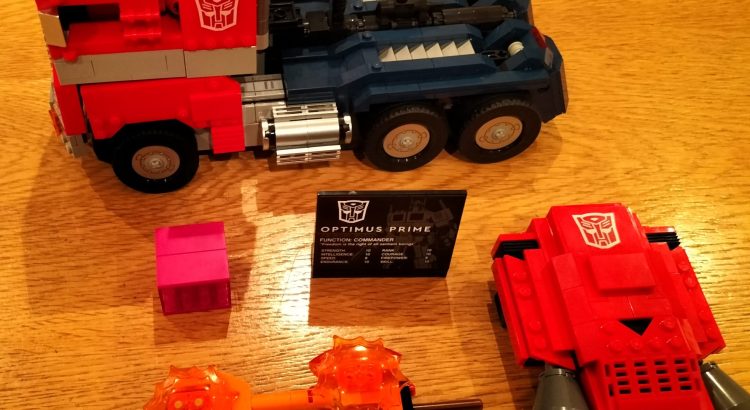
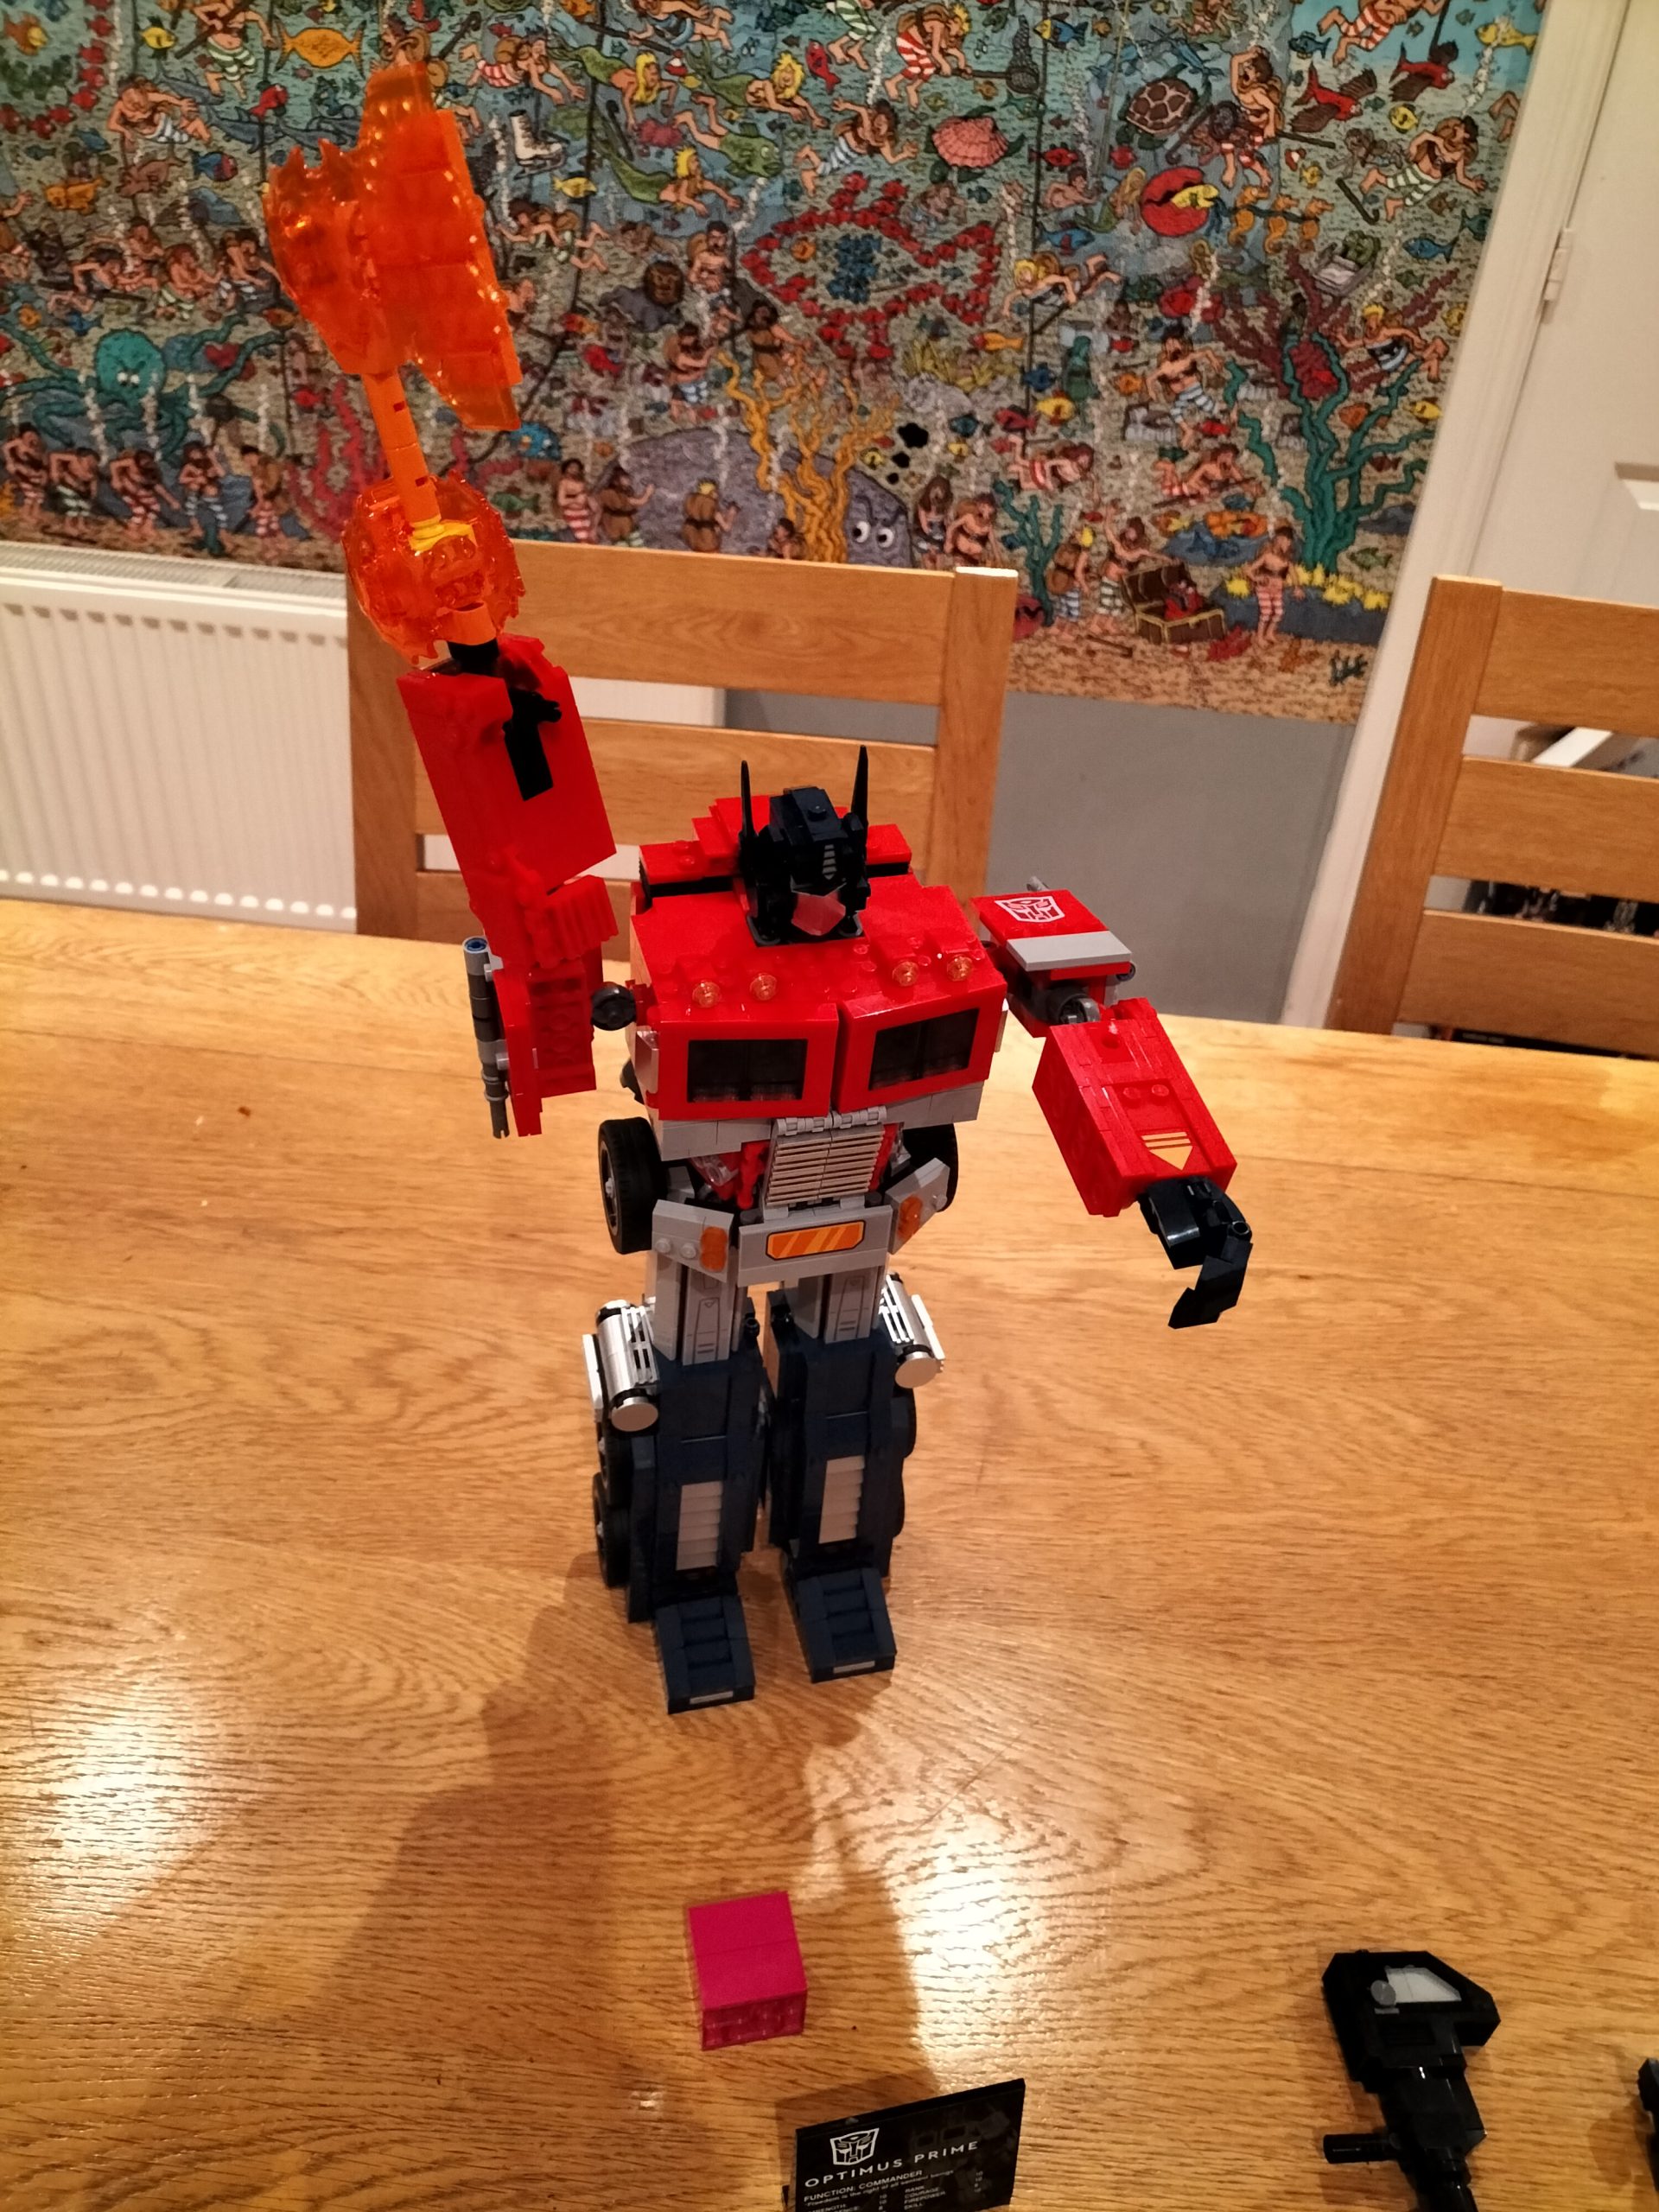
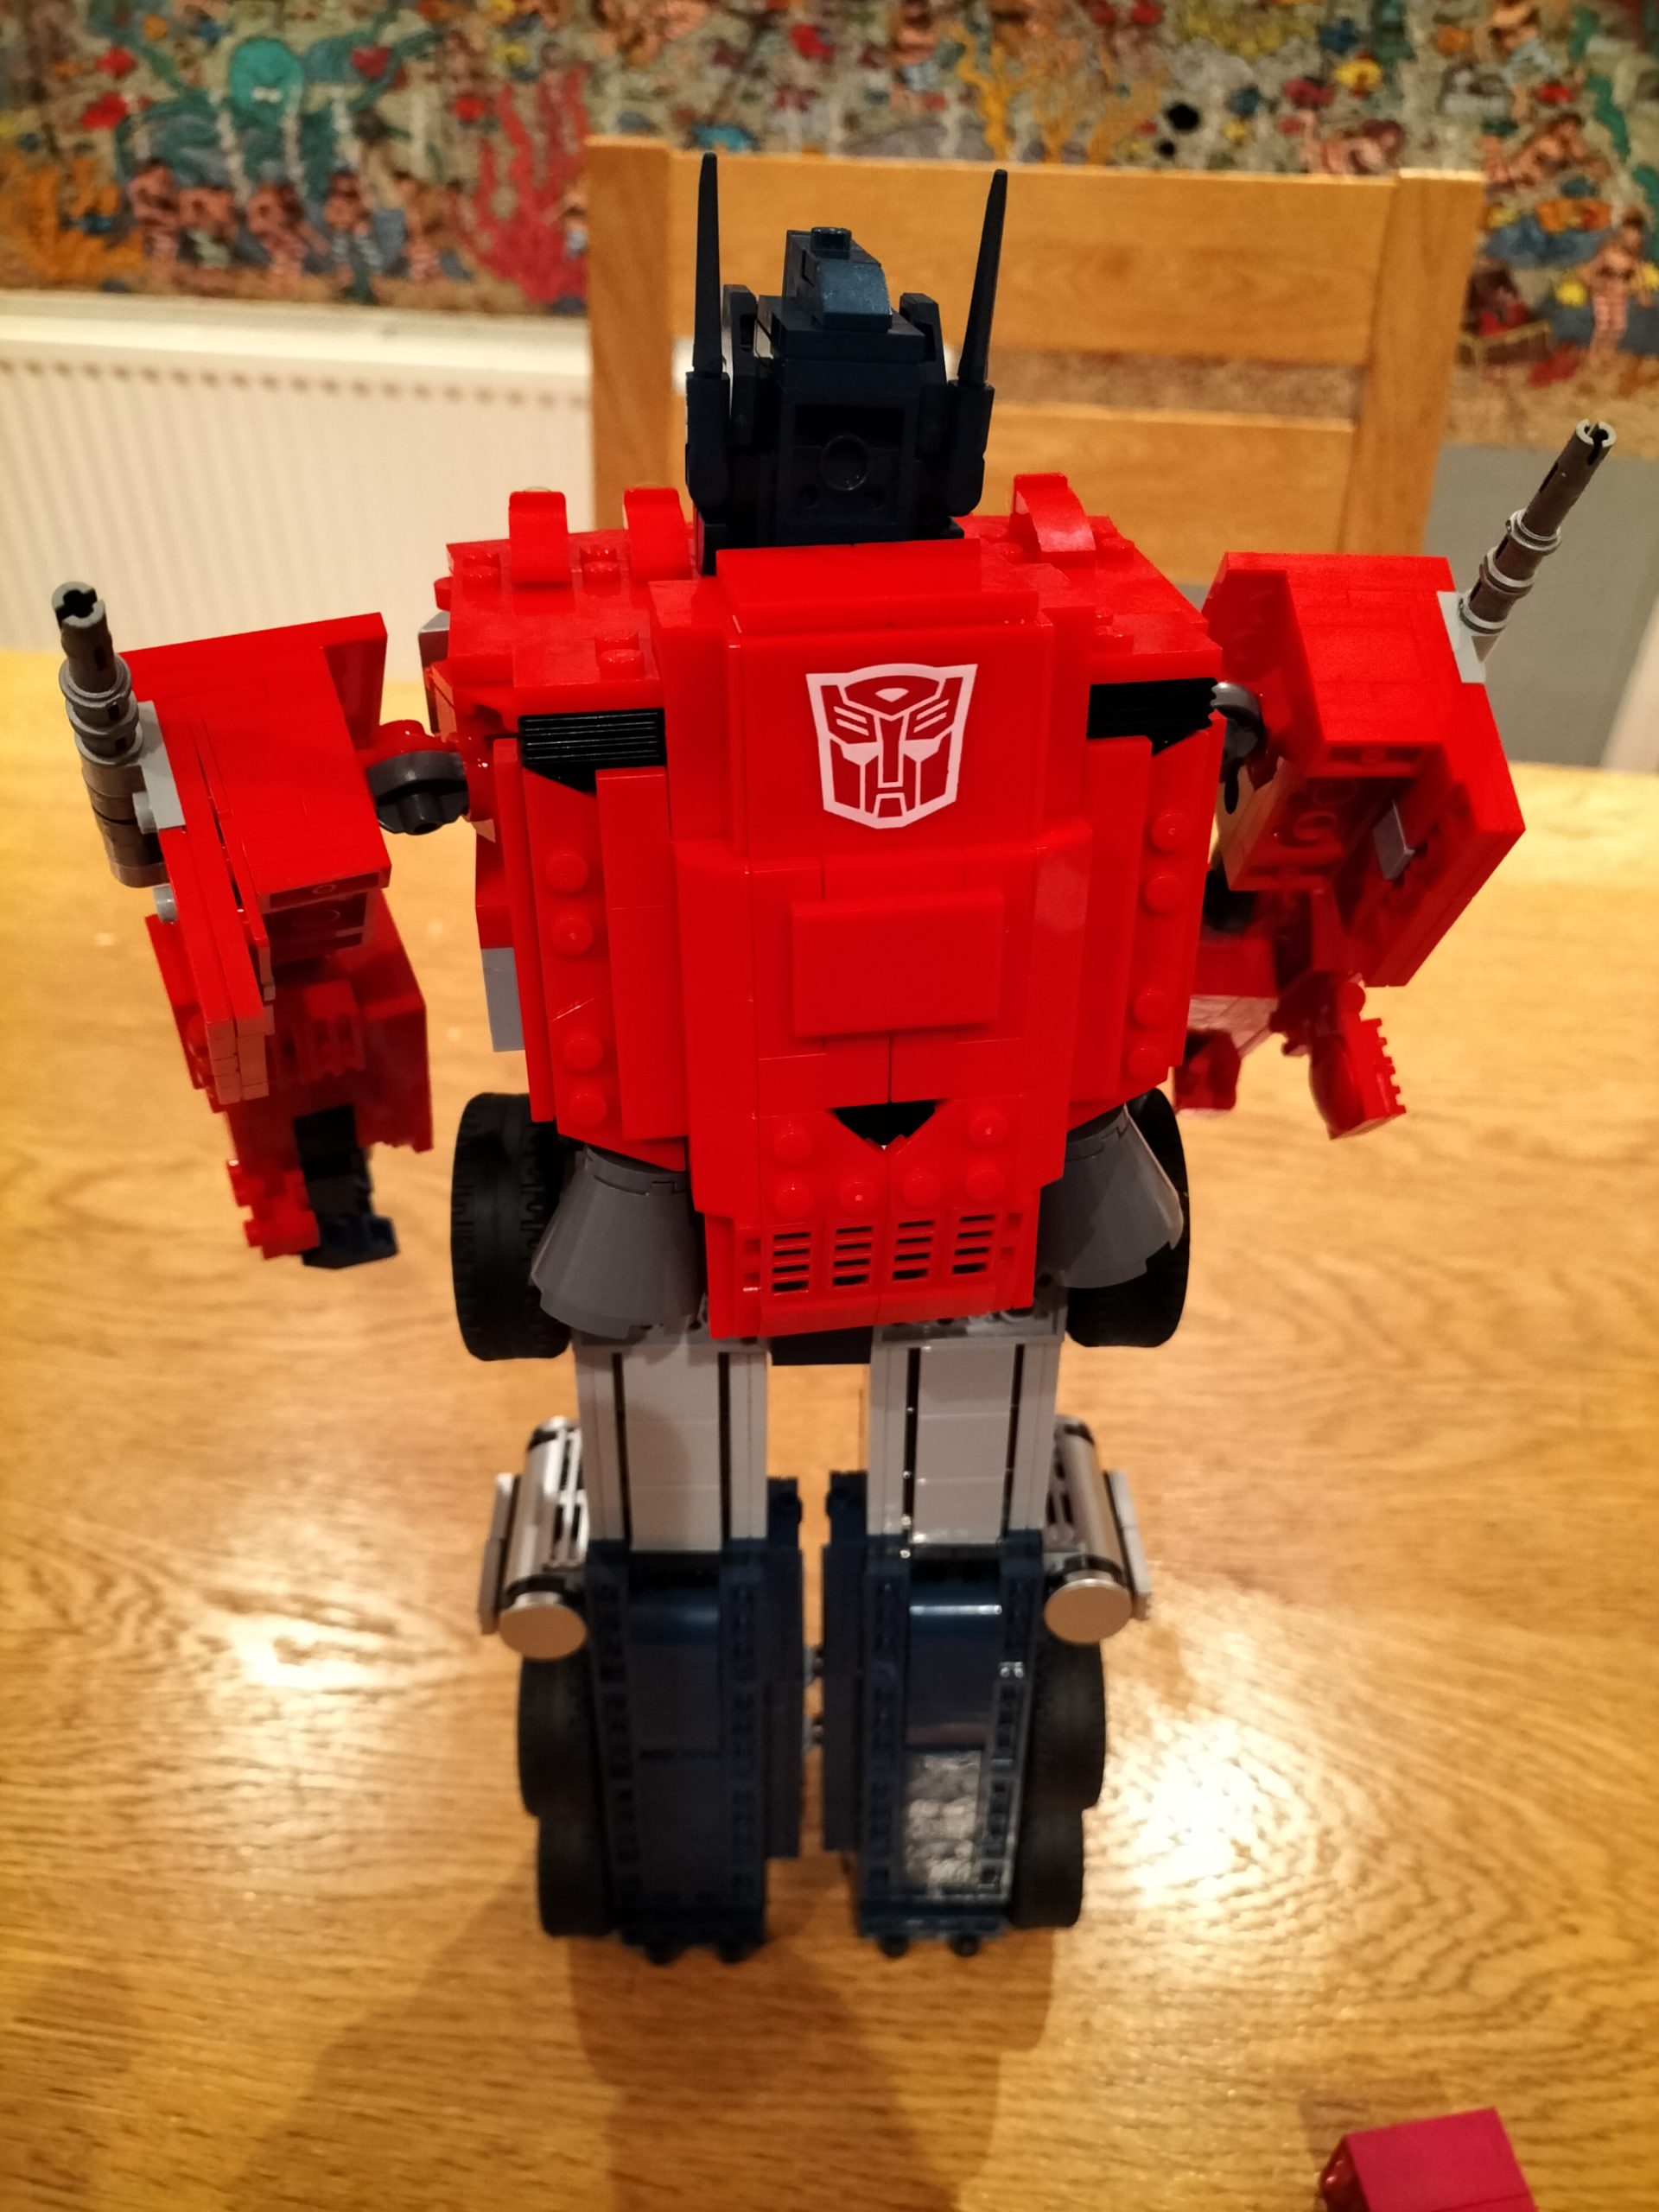
Several hours later (including a few rounds of Singstar and Buzz, lunch and dinner), Optimus Prime is complete.

The completed model, standing in robot form, with gun in hand. Axe and Energon cube on the table in front of the robot, and a plaque about Optimus Prime.
LEGO Optimus Prime set 10302 with the axe in hand and the Energon Cube, gun and plaque on the table in front of Robot-Form Optimus Prime.
This time Optimus in Robot-Form, with the axe in hand.
LEGO Optimus Prime set 10302 features a detachable jetpack as part of the build.
And finally, in robot form, showing off the detachable jetpack.
LEGO Optimus Prime set 10302 in vehicle mode, with the axe, jetpack and Energon cube on the table alongside the informational plaque.
In vehicle mode, the gun is part of the wheel-train, but the axe, Energon cube and jetpack need to travel separately!

Conclusion

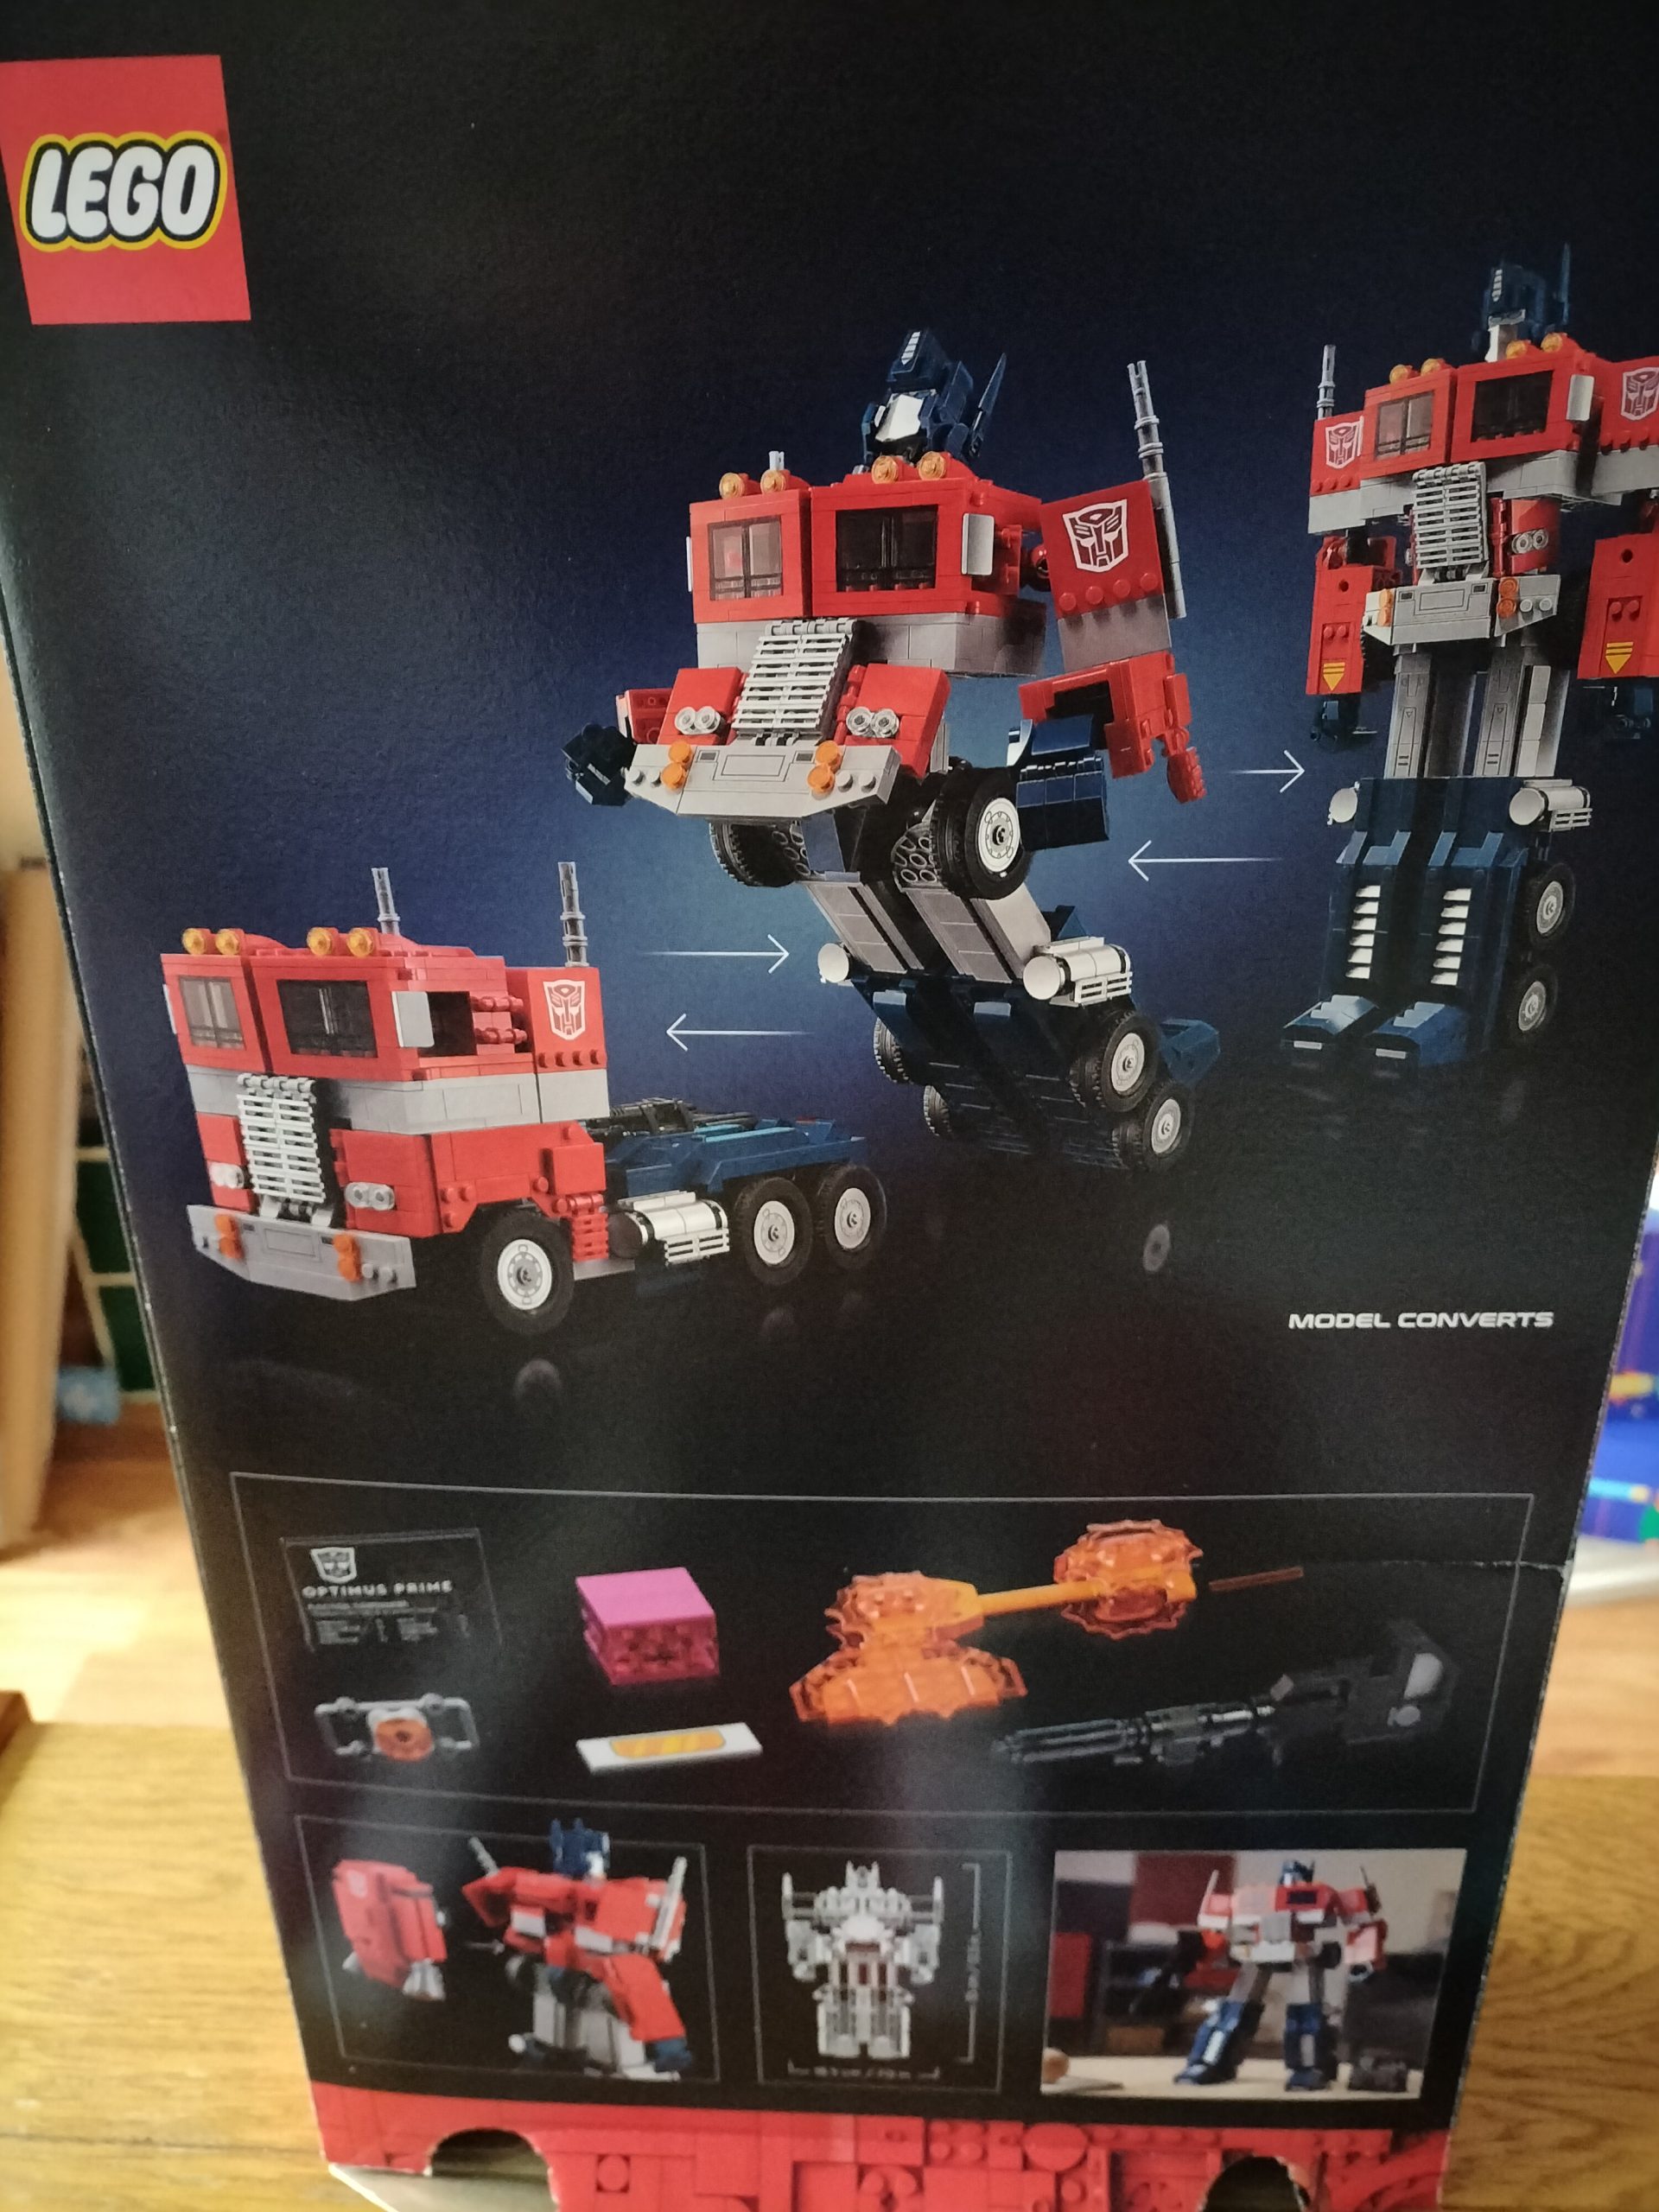
This was a great build, and I’m glad I got the set – I’ll have plenty of enjoyment from showing it off and transforming it. I’m also really impressed at the level of detail they’ve gone into (although, to be fair, the grand piano which I got for Jules last year also set this bar pretty high).

Total build time was probably about 6 hours all-in, mostly building by myself, although Emily weighed in and helped for a bit. There were just enough pieces in each bag to justify having a new bag, but probably could have reduced things down to about 6 bags without too many worries.

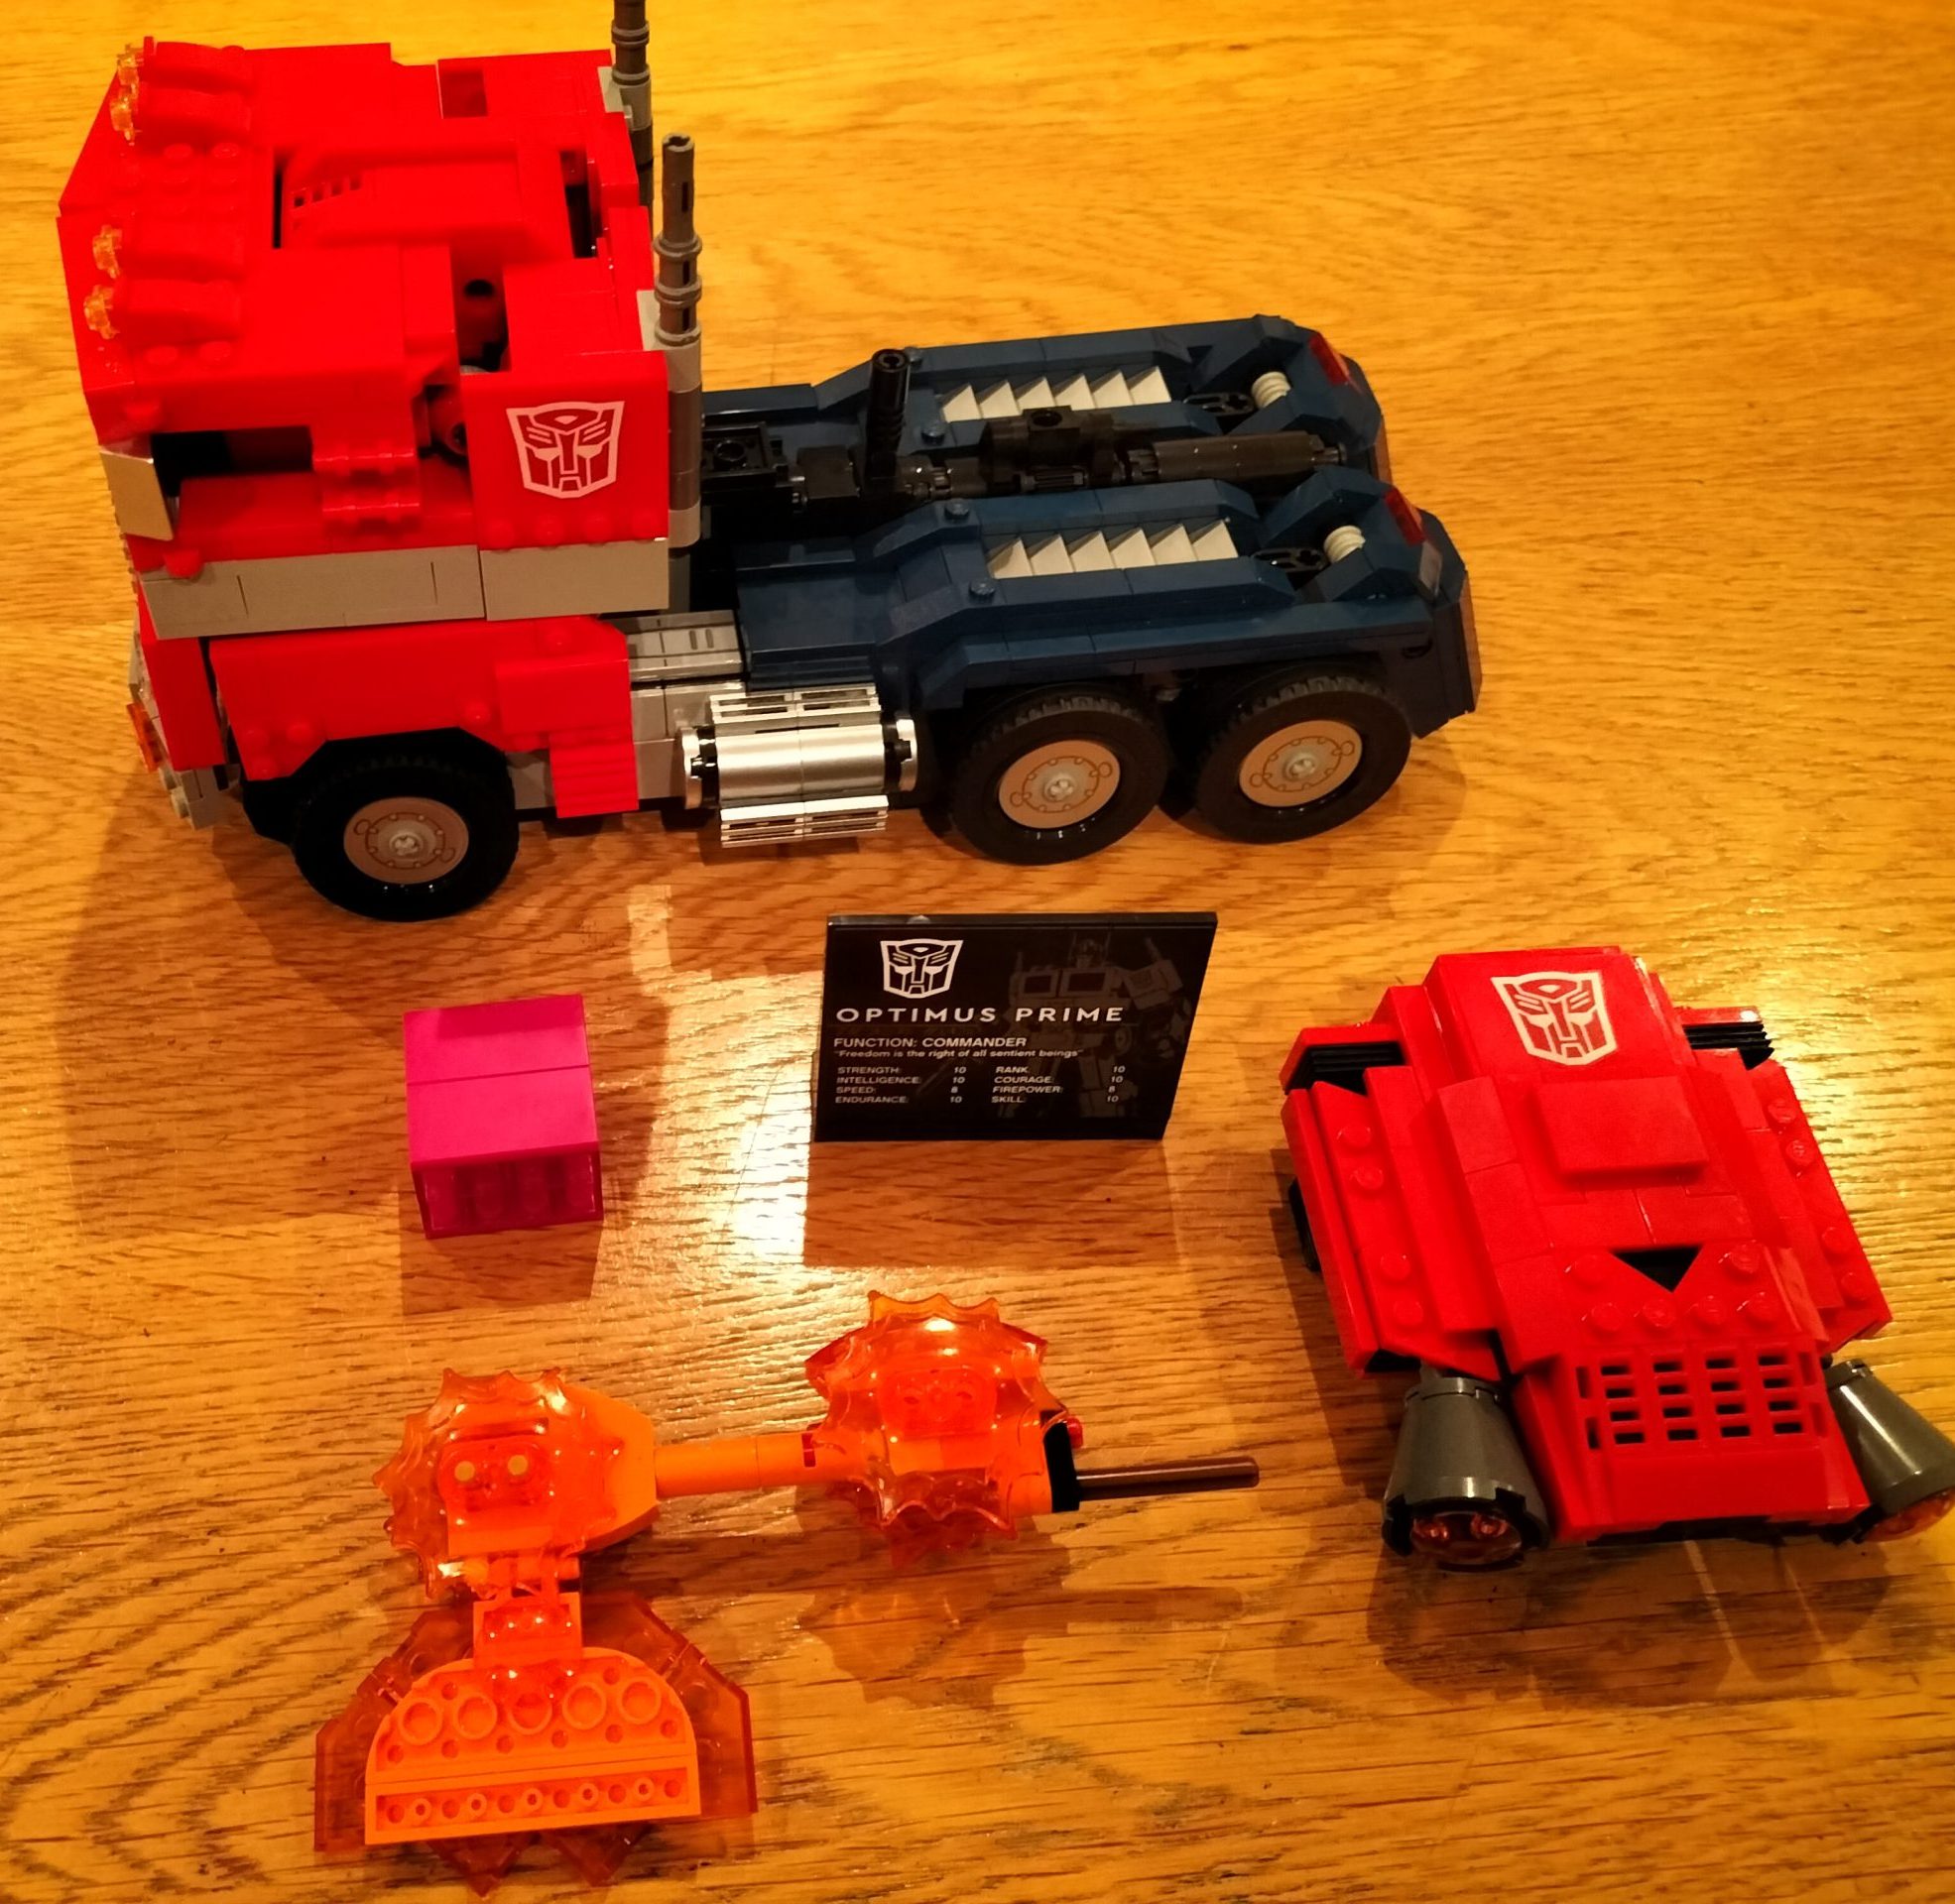
It’s mildly frustrating that the jetpack and axe aren’t somehow incorporated into the vehicle-form, and the axe does occasionally fall off or pull the arm off, but, eh… it’s just there for the battles, and he’d be more likely to just shoot the gun. These are definitely things I can live with, I just need to be sure I don’t lose them!

So, final review – glad I got it, and the build revealed a few Easter eggs about the build that I really appreciated. 9/10

Thinking of getting the set? Consider buying it through my referral link: Amazon UK

"DNA" by "MIKI Yoshihito" on Flickr

One to read: Reverse Engineering the source code of the BioNTech/Pfizer SARS-CoV-2 Vaccine – Articles

One to read: “Reverse Engineering the source code of the BioNTech/Pfizer SARS-CoV-2 Vaccine – Articles”

OMG this is amazing! It uses terminology that a coder or, for that matter, anyone who understands IT terminology will understand. It describes the headers for the RNA sequence as starting with [~]”the equivalent of the #! in shell scripts”

At the end of the post is a couple of links to other content I’m considering reviewing later… “DNA for programmers” and the “two hour [(!)] presentation on DNA […] aimed at computer people”. Maybe once I get some time to spare I’ll take a proper look at these.

This was automatically posted from my RSS Reader, and may be edited later to add commentary.

Featured image is “DNA” by “MIKI Yoshihito” on Flickr and is released under a CC-BY license.

"the home automation system designed by loren amelang himself" by "Nicolás Boullosa" on Flickr

One to read: Ansible for Networking – Part 3: Cisco IOS

One to read: “Ansible for Networking – Part 3: Cisco IOS”

One of the guest hosts and stalwart member of the Admin Admin Telegram group has been documenting how he has built his Ansible Networking lab.

Stuart has done three posts so far, but this is the first one actually dealing with the technology. It’s a mammoth read, so I’d recommend doing it on a computer, and not on a tablet or phone!

Posts one and two were about what the series would cover and how the lab has been constructed.

Featured image is “the home automation system designed by loren amelang himself” by “Nicolás Boullosa” on Flickr and is released under a CC-BY license.

"presentation structure" by "Sean MacEntee" on Flickr

One to read: “The Art of Slide Design”

This is a little different from my usual posts, but I heard about this from the User Error podcast this morning. In 2018 Melinda Seckington gave a talk at DevRelCon Tokyo which she then reposted in full detail on her blog. This set of posts is well worth a read, particularly if you’re someone who enjoys writing and delivering presentations, or if it’s part of your job.

While I don’t adhere to her advice exactly, I can see a lot of benefits to the way that she’s advising to create your decks.

It’s worth mentioning that if you follow the links on the blog posts, post 4 of 5 links to the wrong page for the last page (post 5/5), but there is a “next post” button at the bottom of the page… or just follow the links from this page :)

Featured image is “presentation structure” by “Sean MacEntee” on Flickr and is released under a CC-BY license.

A git log from a personal repository

One to read: “A guide to understand the importance of [ #git ] commit messages and how to write them well”

One to read: “RomuloOliveira/commit-messages-guide: A guide to understand the importance of commit messages and how to write them well”

I’ve talked a lot recently with colleagues and peers about writing git commit messages (particularly in the wake of Hacktoberfest, but also following this recent post: One to read: “My favourite Git commit”), but this is a useful document that lists the standards to follow, no matter where your commits are going!

I try to follow these guides (heading no more than 50 characters, body containing the changes that occurred and why) but I don’t always succeed. But, it’s a goal to aim for!