I’m in the process of building a Network Firewall for a work environment. This blog post is based on that work, but with all the identifying marks stripped off.
For this particular project, we standardised on Alma Linux 9 as the OS Base, and we’ve done some testing and proved that the RedHat default firewalling product, Firewalld, is not appropriate for this platform, but did determine that NFTables, or NetFilter Tables (the successor to IPTables) is.
I’ll warn you, I’m pretty prone to long and waffling posts, but there’s a LOT of technical content in this one. There is also a Git repository with the final code. I hope that you find something of use in here.
This document explains how it is using Vagrant with Virtualbox to build a test environment, how it installs a Puppet Server and works out how to calculate what settings it will push to it’s clients. With that puppet server, I show how to build and configure a firewall using Linux tools and services, setting up an NFTables policy and routing between firewalls using FRR to provide BGP, and then I will show how to deploy a DHCP server.
Let’s go!
The scenario
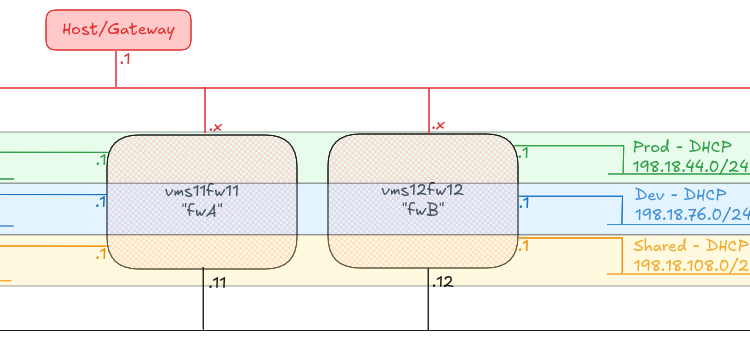
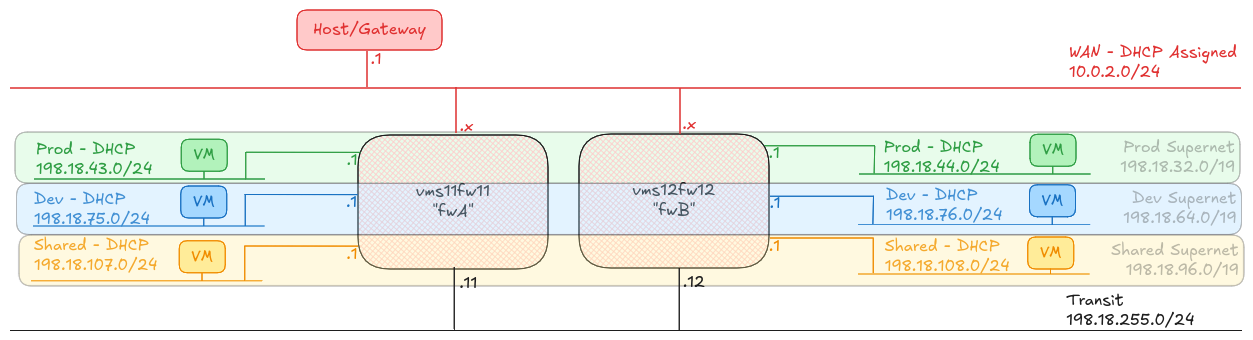
To prove the concept, I have built two Firewall machines (A and B), plus six hosts, one attached to each of the A and B side subnets called “Prod”, “Dev” and “Shared”.
Any host on any of the “Prod” networks should be able to speak to any host on any of the other “Prod” networks, or back to the “Shared” networks. Any host on any of the “Dev” networks should be able to speak to any host on the other “Dev” networks, or back to the “Shared” networks.
Any host in Prod, Dev or Shared should be able to reach the internet, and shared can reach any of the other networks.
I’ve just finished what felt like the worlds longest work instruction, and it made me think… I’ve got these great tools at my disposal for when I’m writing documentation – perhaps not everyone knows about them!?
So here are the main ones!
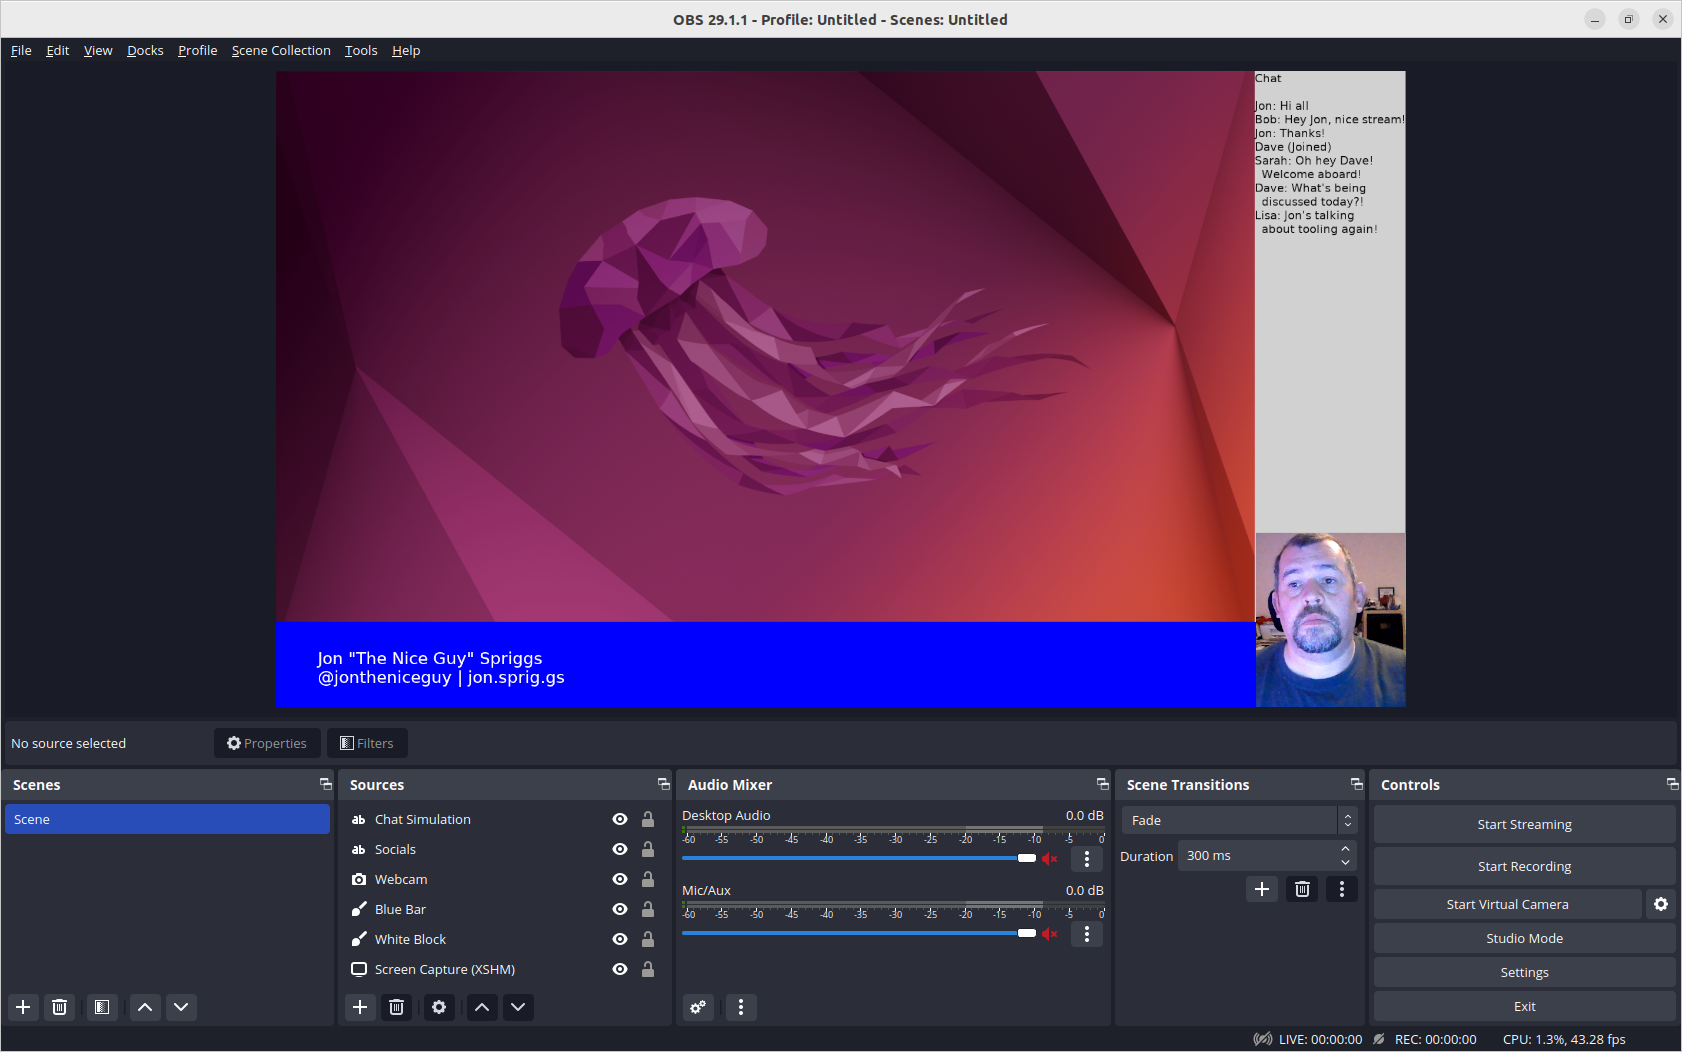
Open Broadcaster Software (OBS) Studio
OBS Studio is a screen recording application, most commonly used by eSports players and gamers to stream content to streaming platforms like Twitch. While it’s really easy to do stuff like “lower third” bars (like this)
It’s also really *really* easy to just record a screen, which makes it easy to just “set and forget” and then run through the tasks. In the past, I’ve been on highly-technical in-person training courses and run OBS while I’ve been in a room, just to make sure I didn’t miss any details when I went back over my notes later!
Clicking “Start Recording” in the bottom third of that screen starts writing the content of that screen into (by default) a MKV file in your home directory (on Linux), or into your Videos directory on Windows. I don’t recall where it went on OS X!
This means after the task is done, I can play it back with…
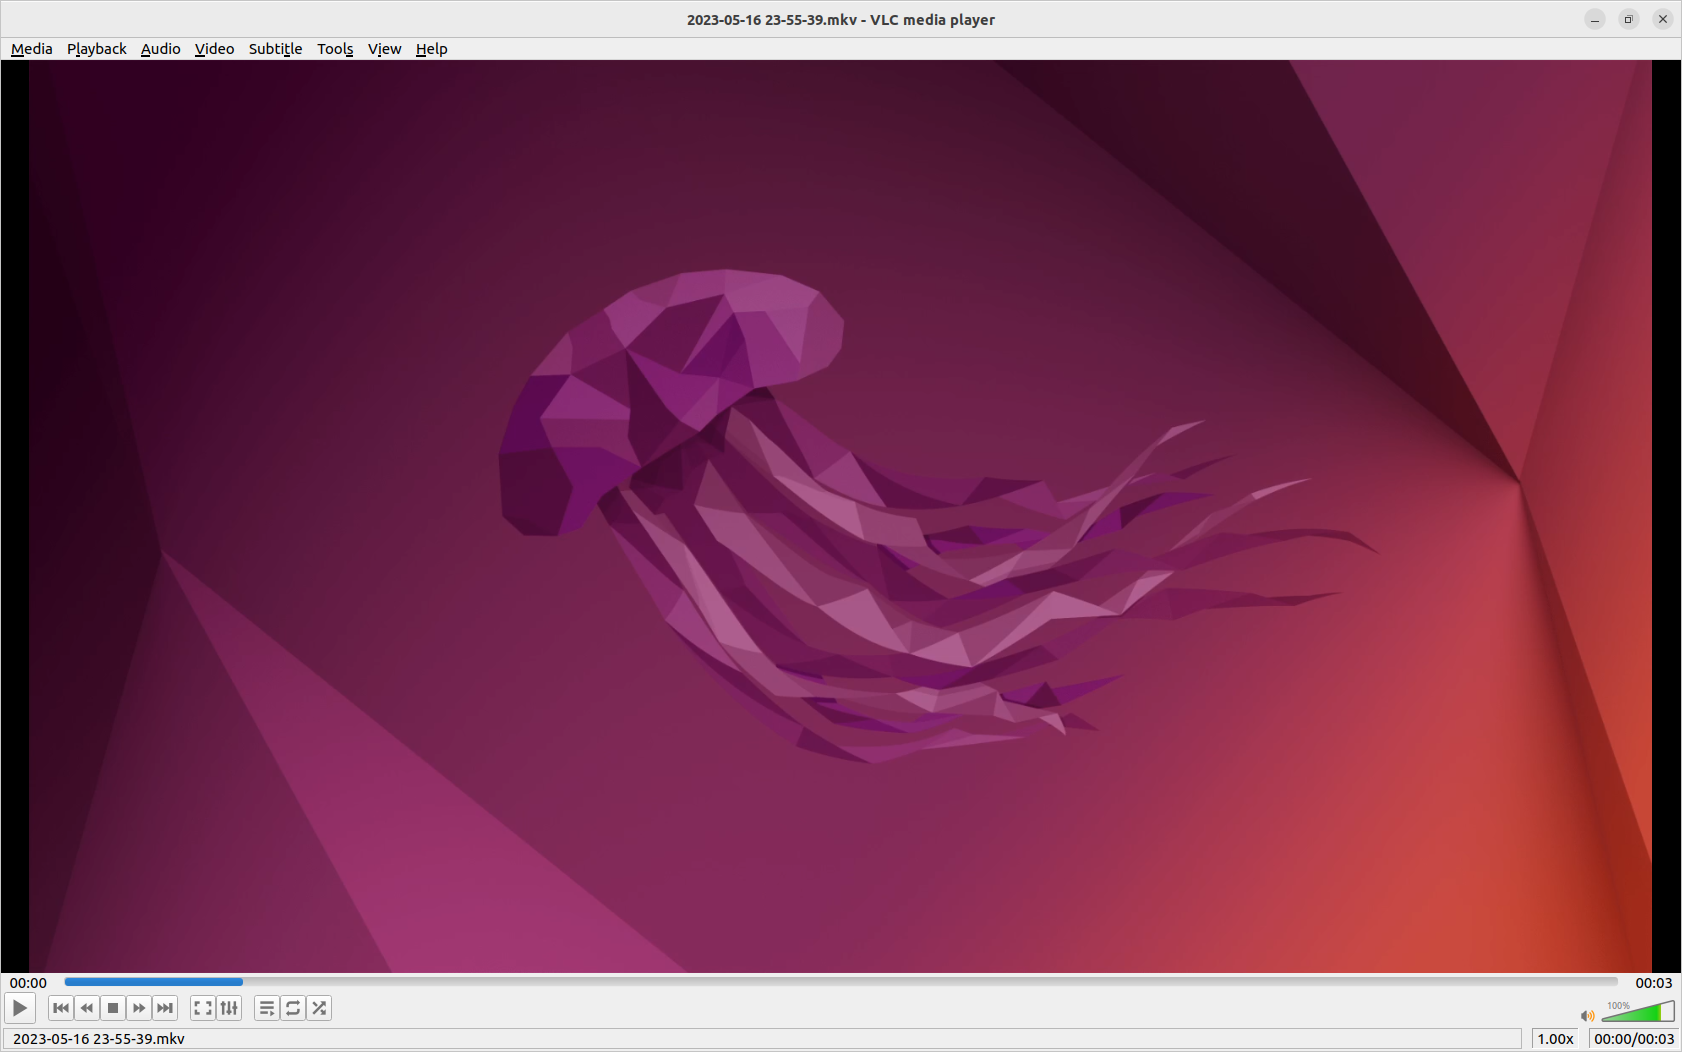
VideoLan Client (VLC)
VLC is (or, at least, was) the defacto video player for anyone who consumes media on their computer. In my case, I only really use it now for playing back files I’ve recorded with OBS, but it’s a great player.
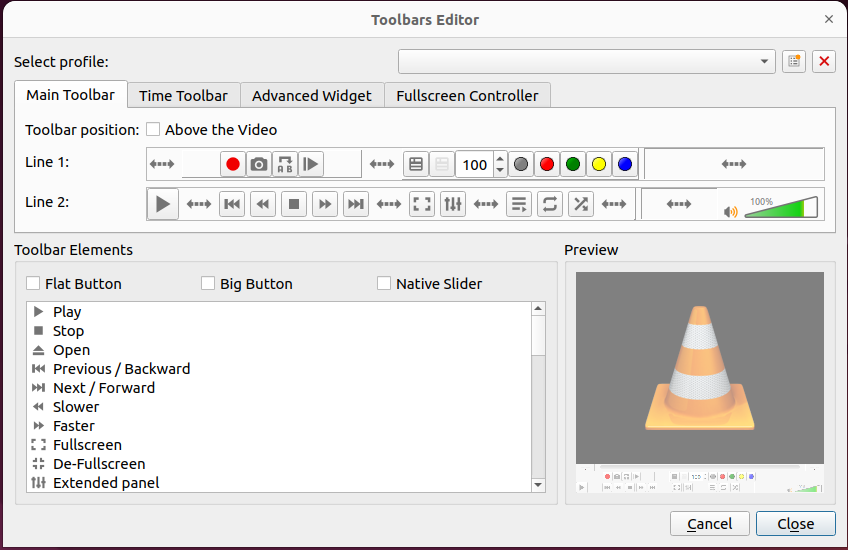
I only really make one key change to VLC, which is; adding the playback speed buttons. Different platforms do it differently, but on Linux and Windows at least, go to Tools -> Customise Interface and you’re presented with a screen like this:
I drag the “Slower” and “Faster” buttons to either side of the stop button, and will typically play videos back at 3x or even 8x speed to get to the areas I want, and then slow it down, sometimes, to 0.5x speed to get specific frames I’m looking for.
Once I get that frame, I’ll use a…
Screen Snipping Tool
On Windows this is the built-in snipping tool, found by pressing Windows+Shift+S. On Ubuntu, I’ve installed the package gnome-screenshot and the Gnome Extension Screenshot Tool.
With Snipping Tool you can draw circles around things and make annotations with a pen, but in extreme cases, I rely on the …
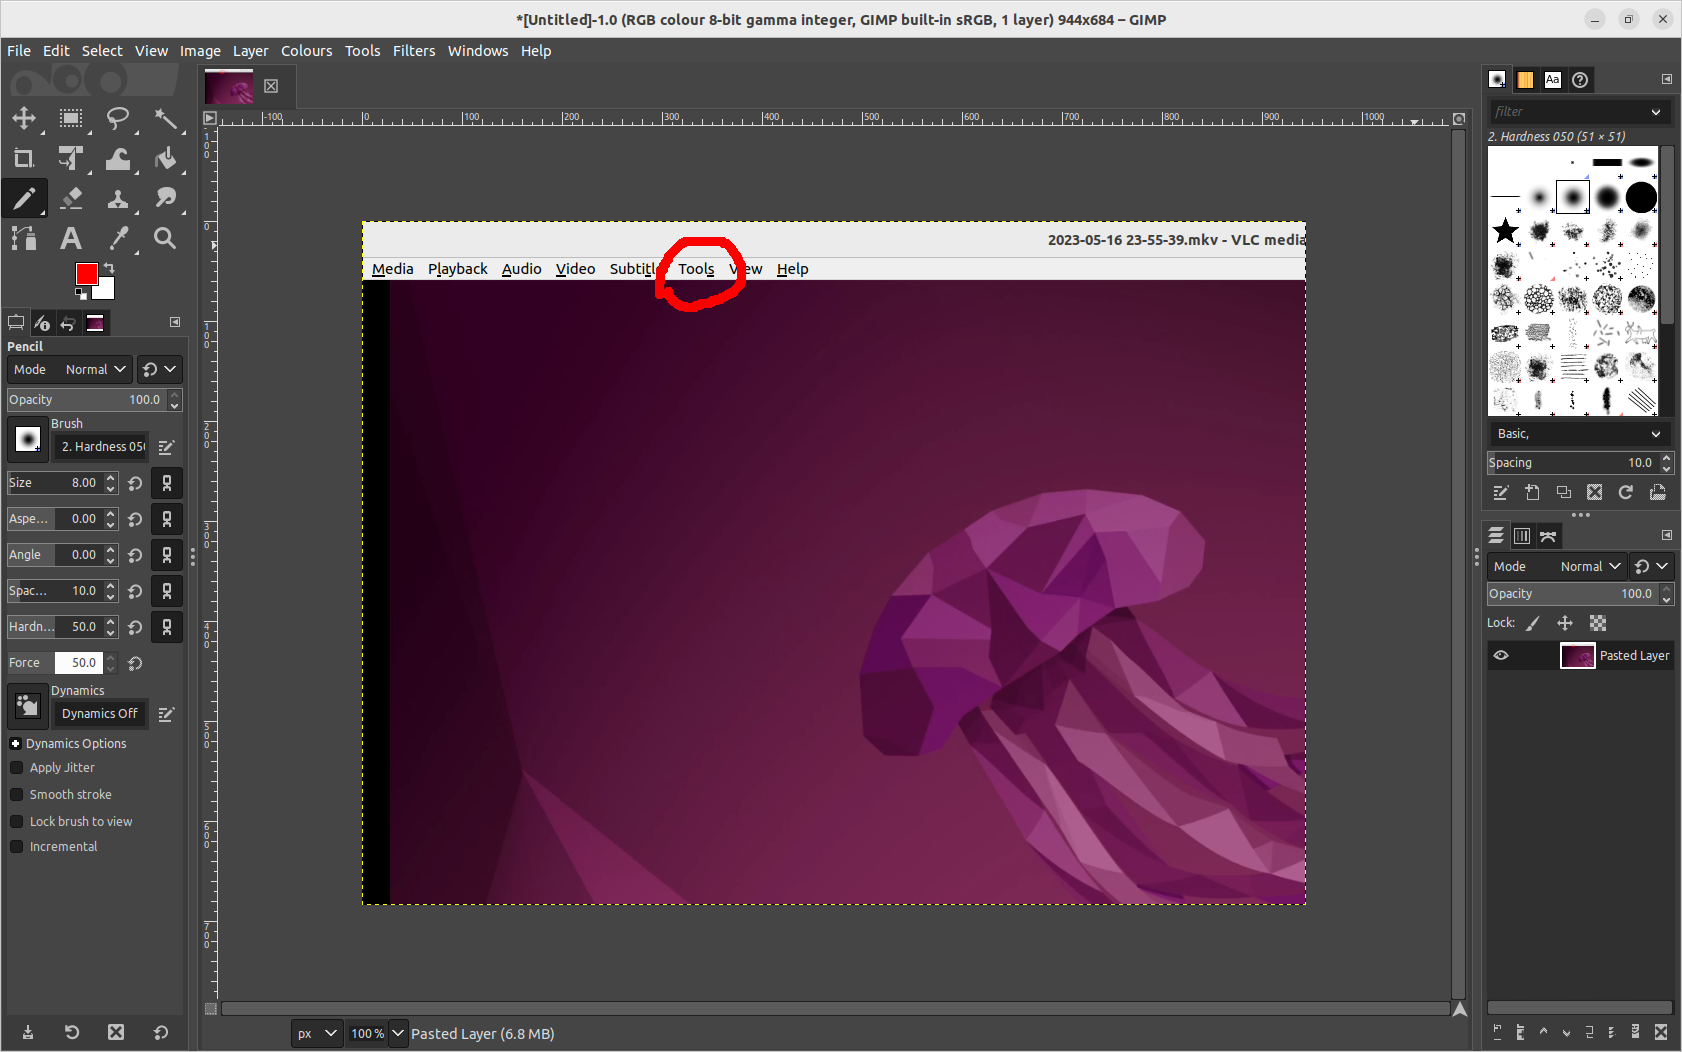
GNU Image Manipulation Program (GIMP).
GIMP, aside from being a badly named project (notably because most people over a certain age know about that scene from Pulp Fiction) is a FANTASTIC image editor. I use it for all sorts of editing, cropping and resizing, but I particularly love the layers menu on the side.
A couple of years ago my son wanted to give all his friends “membership cards” for a club he’d made. These were created in GIMP and just required him to clone a layer from the block on the right, hide the previous layer, and change the text in the clone.
This also means that if you want to easily highlight specific areas of the screen it’s only a few clicks to do it. Now, that said, it’s not as straightforward as Paint, and for anything beyond easy tweaks it will take a bit of experience, but it works.
This is all well and good, but sometimes you just need details from a terminal, where I’d use…
Asciinema
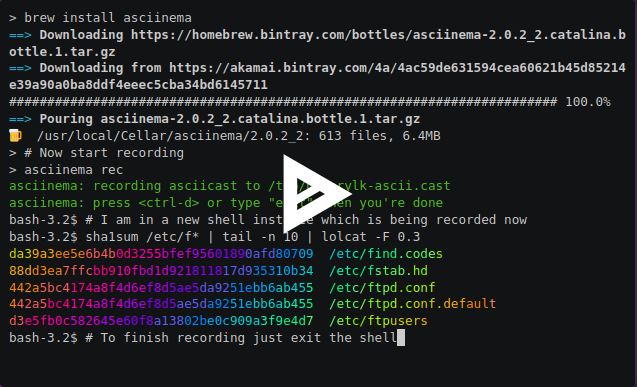
I use Asciinema (just a pip, apt or rpm away) when I’m working on something on a command line that I want to play back as a video, and the main reason is that I can adjust my output really quickly and easily!
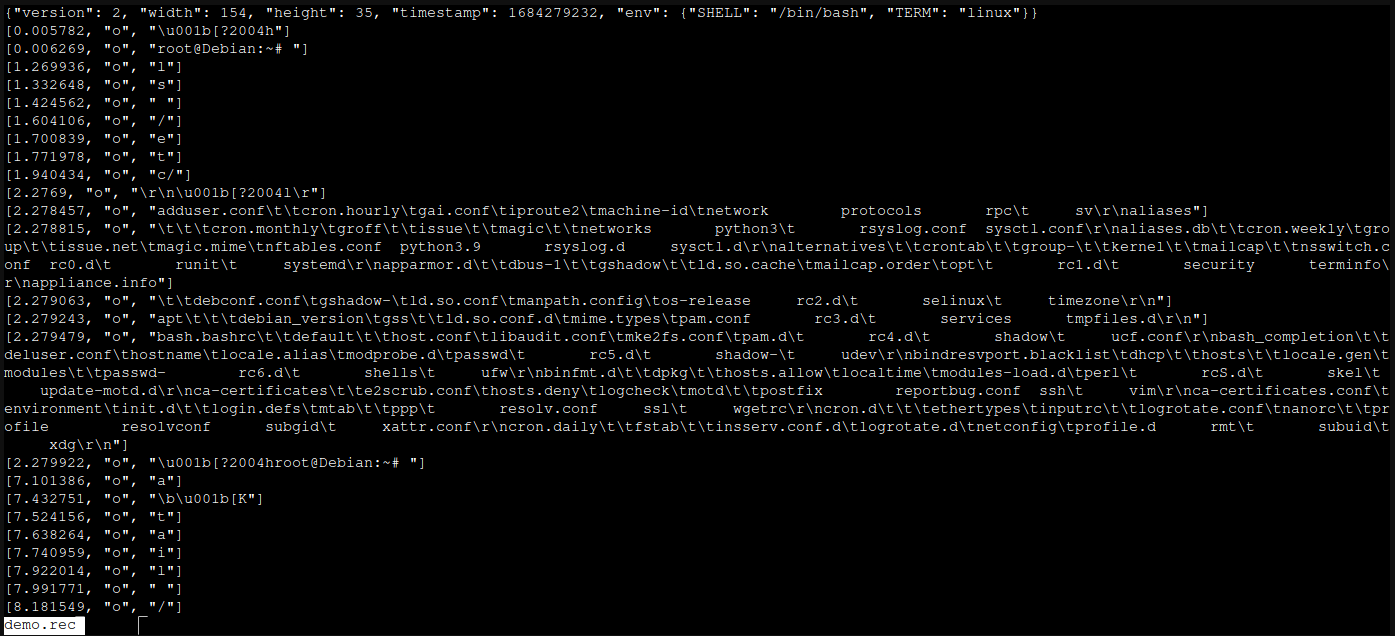
Consider this screen of data:
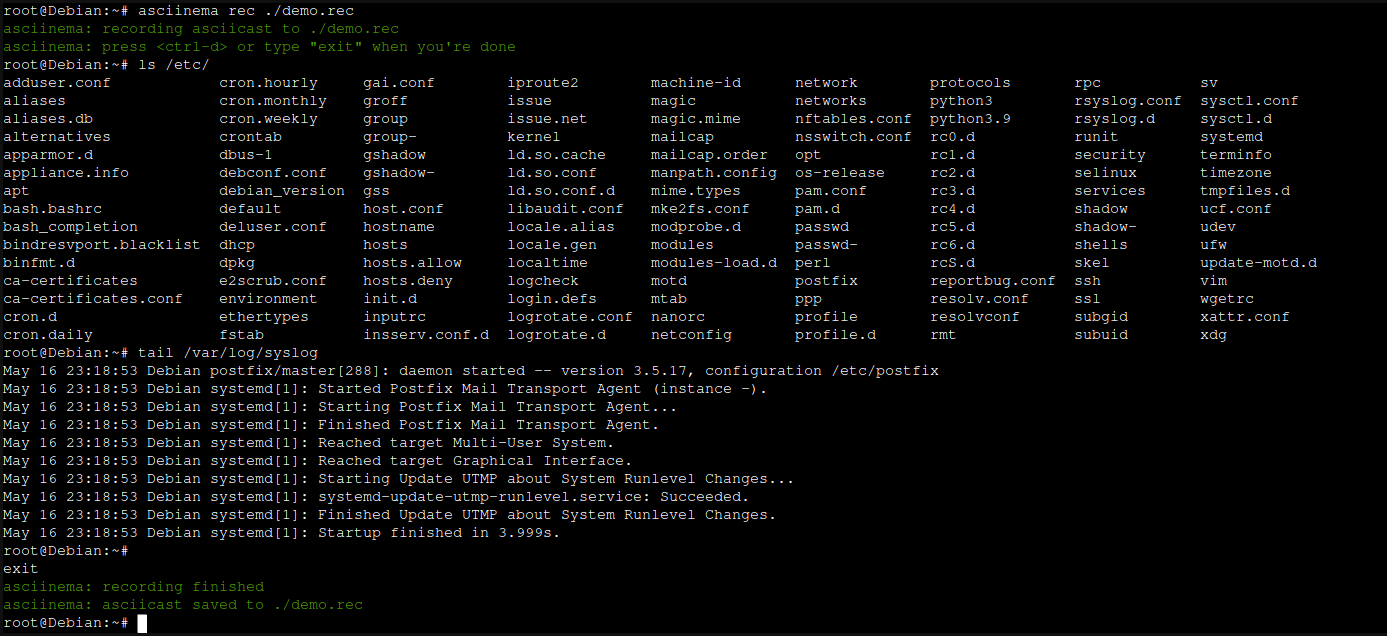
I “recorded” that using asciinema rec ./demo.rec and ended it with ctrl+d. That created a file called demo.rec, which looks like this:
Each line is prefixed with a timestamp, it then has a stream action (mostly o for “output”, but you can add m for “marker” or i for “input” in there if you wanted to be clever ;) ) and then the text which will be rendered when it’s played back (more about that in a tic). This means that if you make a drastic typo, you can fix it in this file, or if you want to redact a password that you never meant to type, you can do!
But, and here’s the next awesome thing, you can also ask it to play back ignoring any gaps longer than X amount of fractions of a second, so if you went off to make a coffee in the middle of doing a recording, playback won’t show it.
And then, playing it back… well, you can just run asciinema play demo.rec but that’s a bit boring… but you can link to it, like this demo I created a while ago or even embed it in your own site
Rendering it all
And the last thing I use? Whatever writing tool I have to hand! I typically write on my blog if it’s for public consumption (like this), but I’ve used private Github and gitlab repos, Visual Studio Code to create markdown files, Google Docs, Microsoft Word, LibreOffice Writer and even slide decks if it’s the right tool for the job.
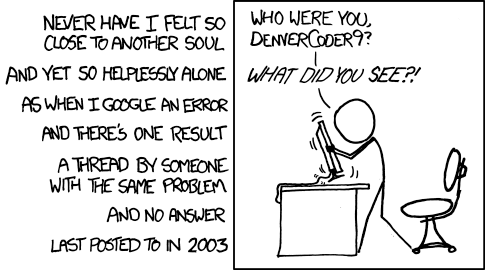
But the most important thing is that you get your documentation OUT THERE! It’s so frustrating only having half a story… like this one:
Featured image is “Tools” by “Paul Downey” on Flickr and is released under a CC-BY license.