Last night, I met with a group of friends that I’d not seen for probably 10 years, and it was glorious.
In 2006, I was relatively fresh-faced in the North-West Tech Community. I’d moved North in 2002, spent a couple of years finding my feet, and finally ended up hearing about GeekUp. GeekUp had been a mash-up of a few different Web Developers community groups, and was, for many years, my “geeky home”. It met monthly in a room above a bar, under a bar, and for a period of time, in a small nook on a balcony over a bar. Organised by Andrew for much of it’s time, and spread from Manchester to Leeds, Preston, Sheffield, Liverpool and further afield, it was a safe place for anyone who worked in Tech to come and realise that life wasn’t so bad all the time, or… at least, that’s how it felt to me. It was the first place I gave a talk outside of work, and a place where I finally felt like I’d found my “tribe”.
In 2011, my eldest was born, and I found it progressively harder and harder to get to meetings, and by 2016, when the meetings finally ended, I’d not been to one for over a year.
I kept an eye on people I knew, and kept bumping into individuals around the events I could make it to – mostly BarCamps [1] and by 2018 I missed the community feel, so I created something like GeekUp in my semi-rural area. It ran for about a year, by which time the mojo had gone, and I wrapped up the group … we were ahead of the curve on closing in-person meetups by a year!
About a month ago, I saw on LinkedIn that GeekUp was holding one-part reunion, one-part restart of events at the Leigh Hackspace, near Warrington.
And my word, what a GeekUp it was; I knew every face (barring one Leigh Hackspace user who turned up and discovered we had pizza, so stayed) although some took me a while to recall who they were and we all got to chat about what we’ve done in the in-between times.
Will there be another one? Andrew hopes to restart something in Manchester in the new year. One of the former Preston GeekUp organisers wants to restart something there, and the Leigh Hackspace was a great space to host “something”… although it might be a bit far for me for a monthly meeting!
So, what’s my message here? Well, if you previously organised a meetup, social group or community for some passion of yours, and it’s been a while since you ran one… why not consider whether you might consider reviving it – especially if you’ve still got the passion for that thing… and get back out there. I certainly enjoyed being back in the thick of it all.
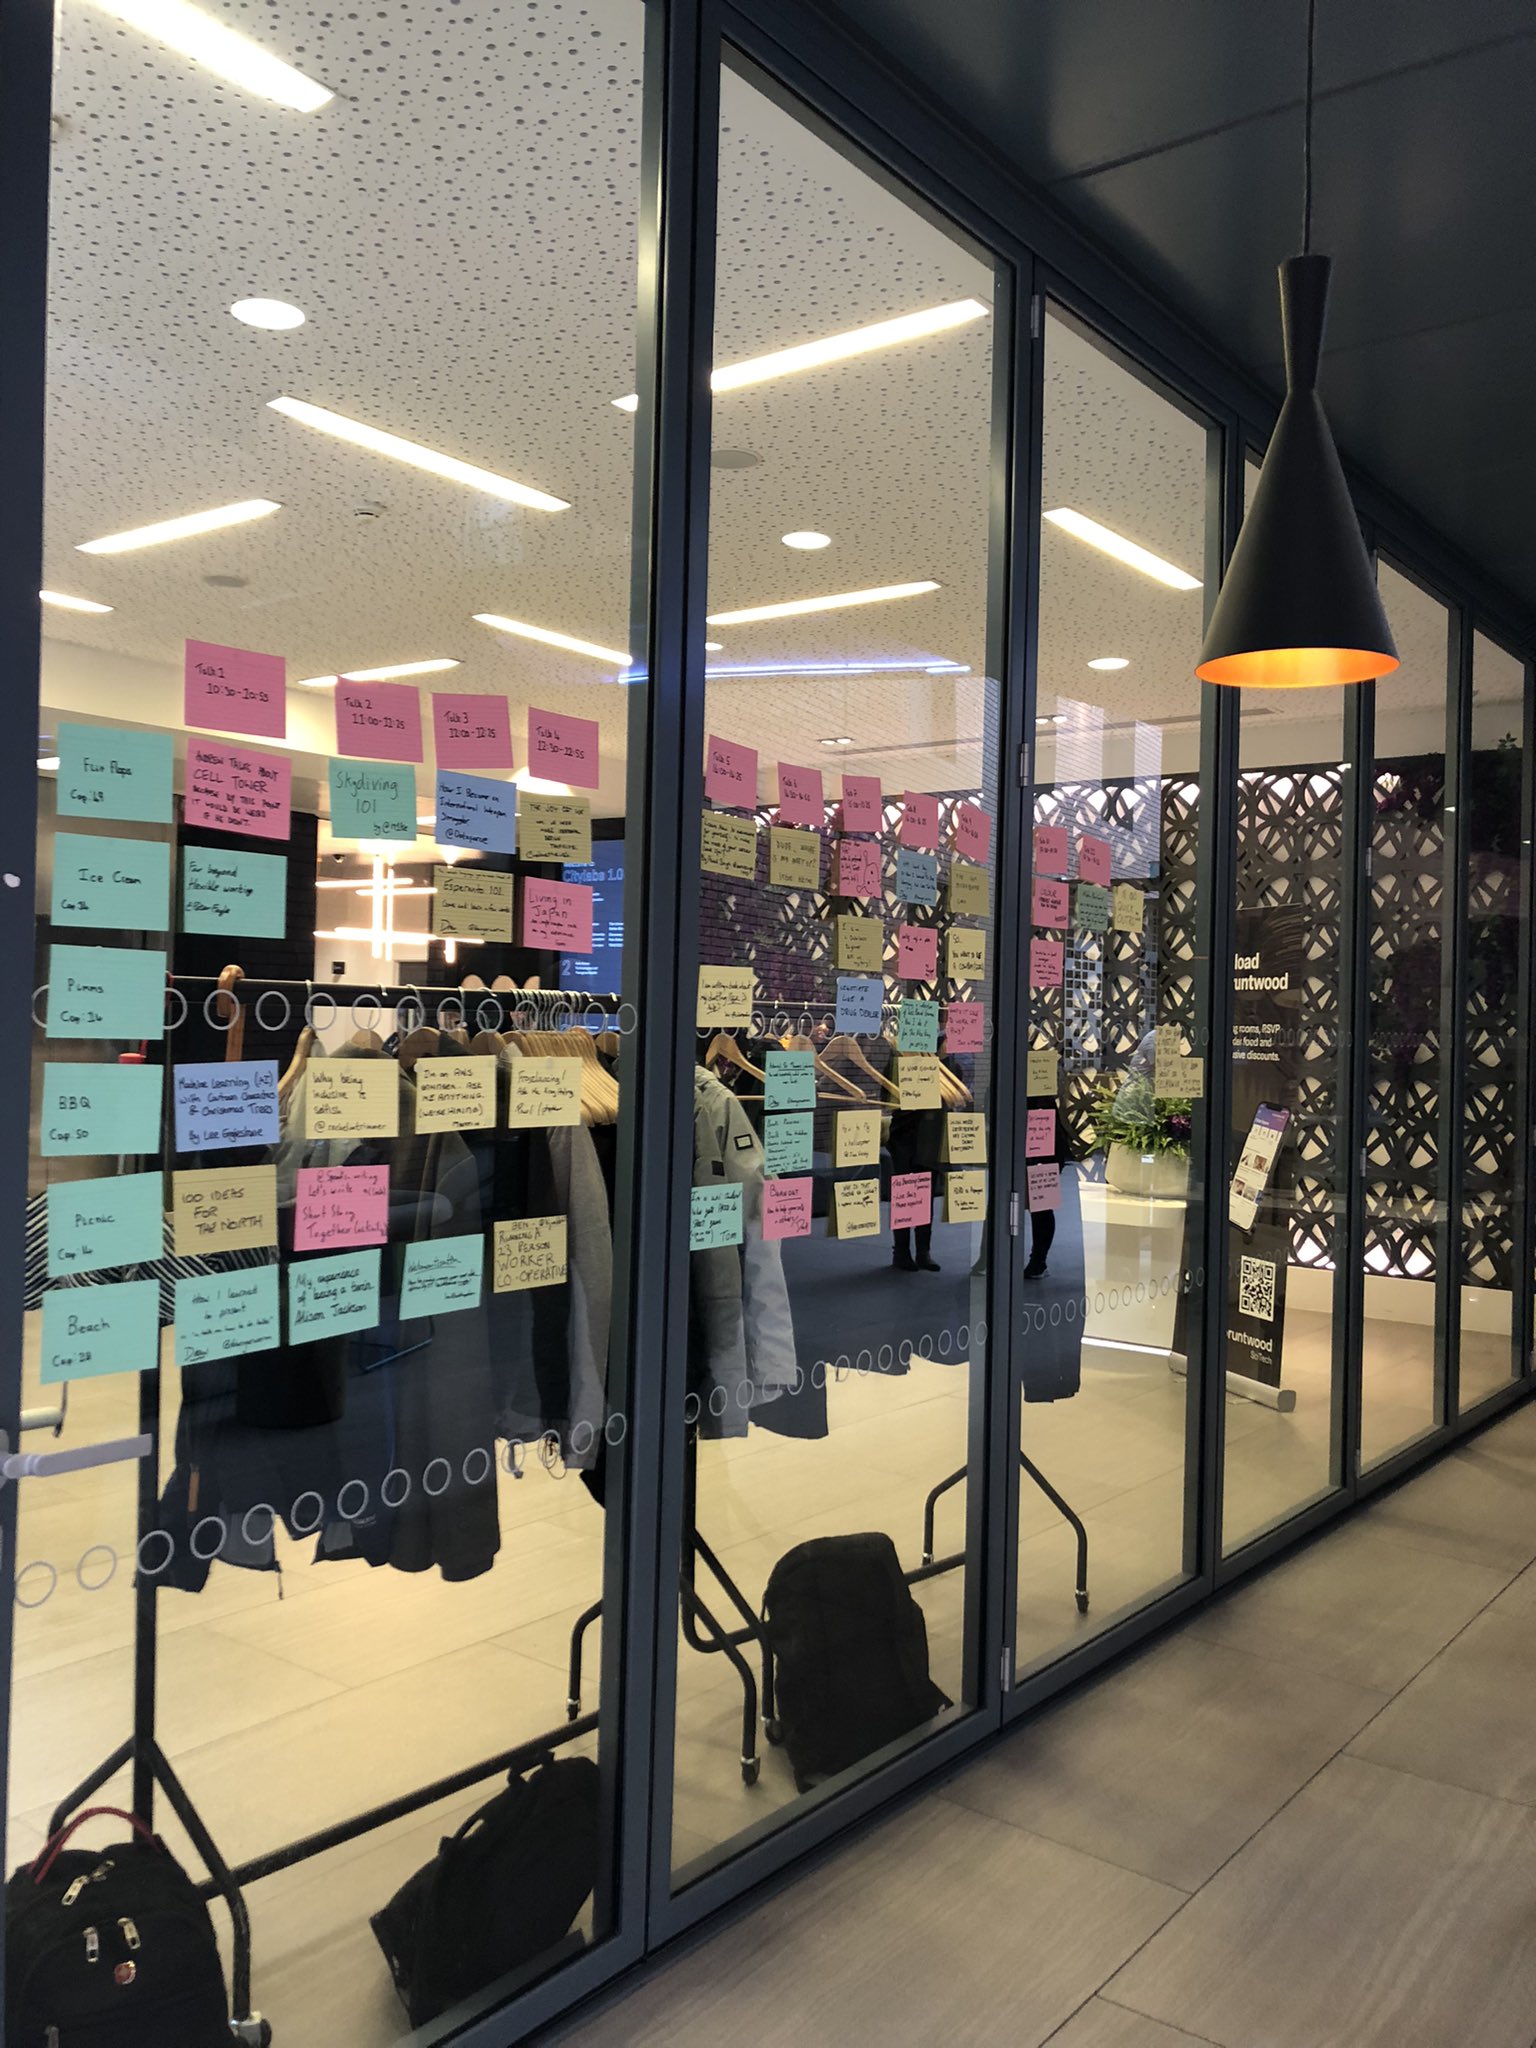
[1] BarCamp: An “Unconference” or Unscheduled Conference; where there is no pre-defined schedule for your conference, just a number of meeting spaces, a “grid” or timetable, and a stack of sticky notes and pens for your attendees to put their talks forward. Usually free or a small nominal cost for room hire.
Featured image is the GeekUp logo, retrieved 2025-10-31 from https://geekup.org